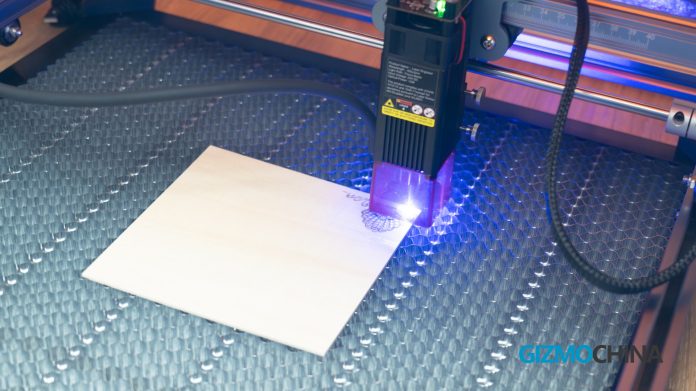
We are always searching for tech products, some of them really are the combination of high level of tech and affordability. This time we have the Creality Falcon 10W Pro Laser Engraver in our studio. This kind of tech product is not quite familiar to us, although we know how it works, but when it comes to mastering the craft, there is still a long way to go. So let’s get into this hobby, and see if we can provide some help for you along the way.
Packaging and Assembly
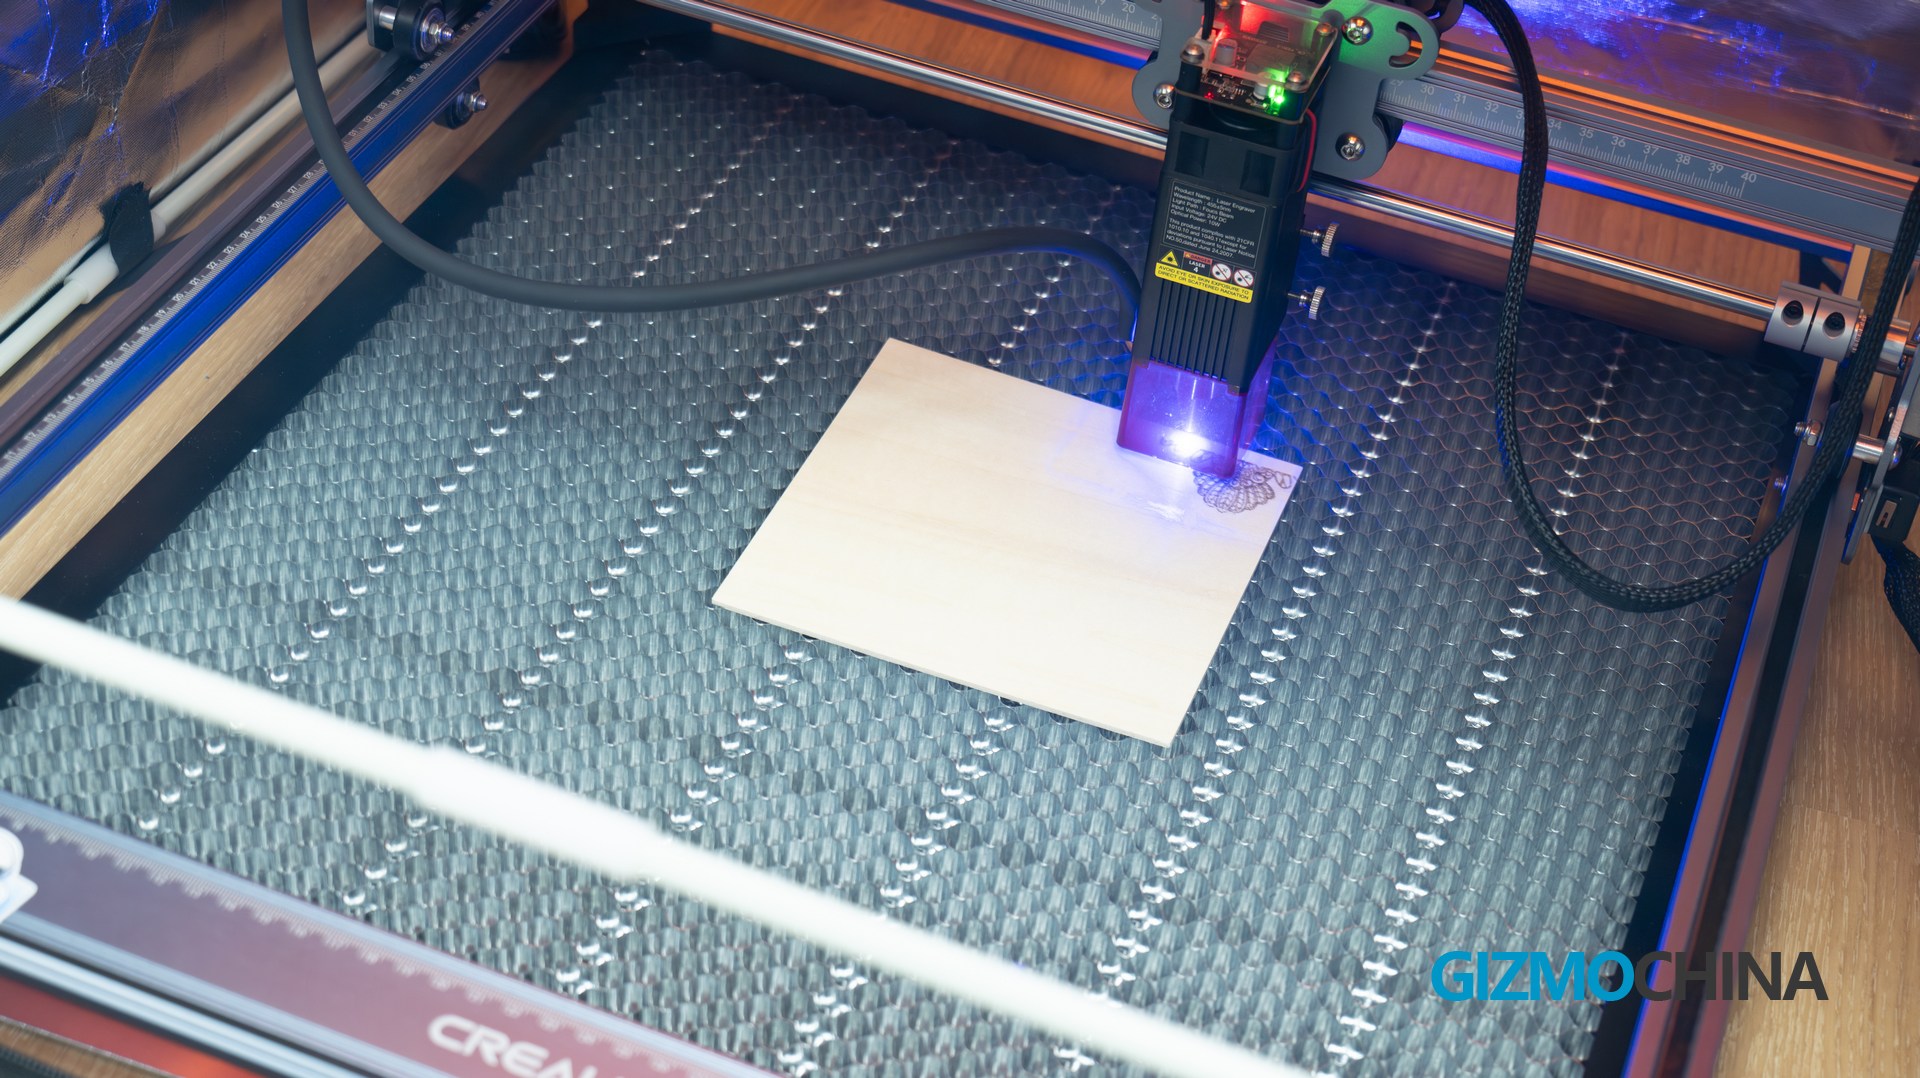
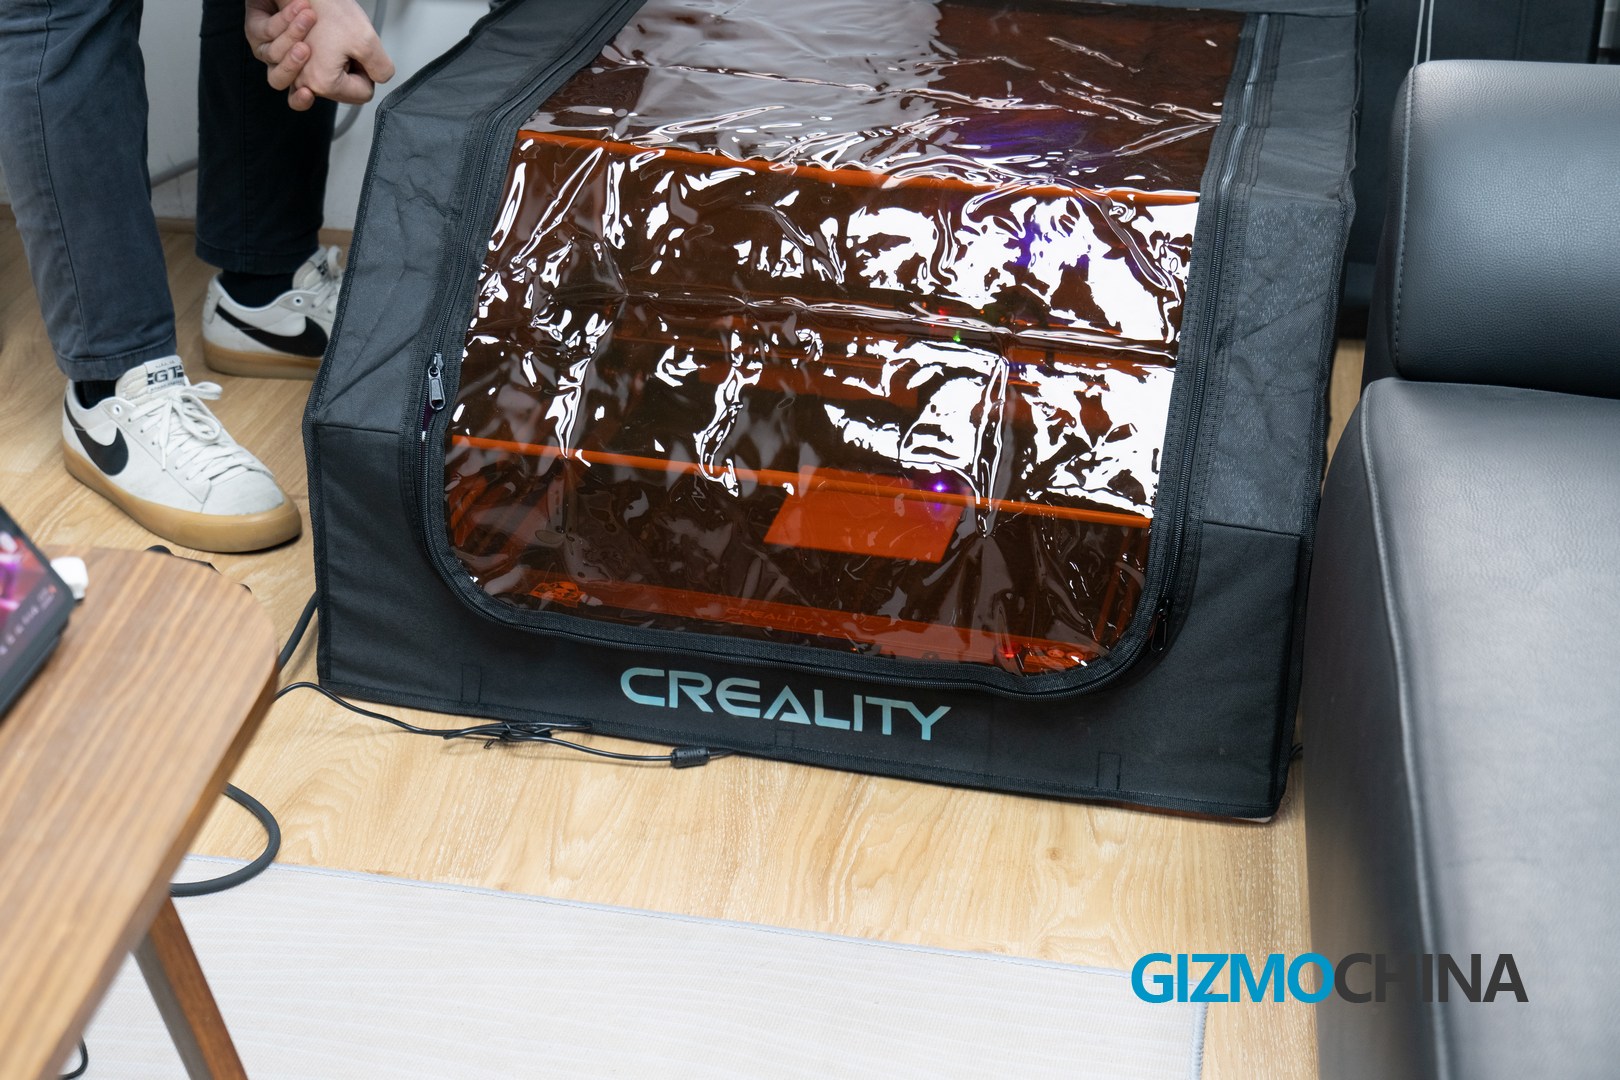
Before we talk about packaging, we need to talk about what you should get when you are first into this hobby. Basically, when you want to get a laser engraver, besides the main unit, it is really recommended to have the enclosure and the honeycomb plate. There are several reasons:
- If you live in an apartment or a building like us, it’s not that convenient to evacuate the smoke generated from the machine. So the enclosure with a vent fan built in is an essential.
- Wherever the laser goes, it will burn things, and there is higher chance that it will leave a stain, or even cause fire if the laser stays in one spot for too long. So a honeycomb plate is also an essential, and there should be a metal plate underneath to go with it. Therefore the material used for engraving won’t be burnt, and your floor won’t get damaged.
What’s in the box:
- X-Y Gantry
- Laser computer control assembly
- 10W laser module
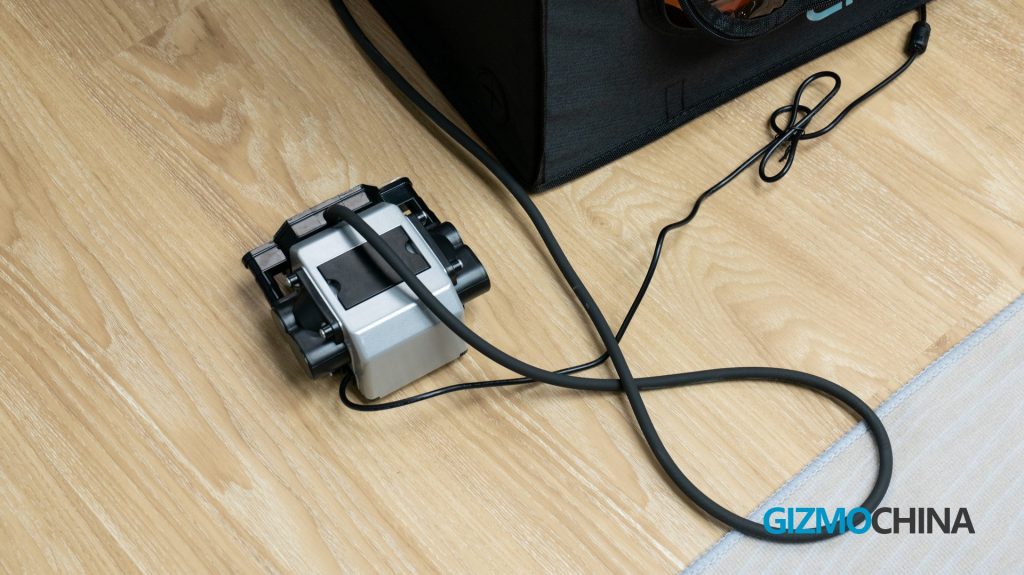
- Air-assist device
- Assembly screws and hardware
- Measurement plate
- Gantry legs
- Power supply and Power cord
- Linden plywood sample x 2
- Wrenches
- T-nuts with grub screws
- 8GB TF card and USB card reader
- Safety goggles
- Cloth
- Manual
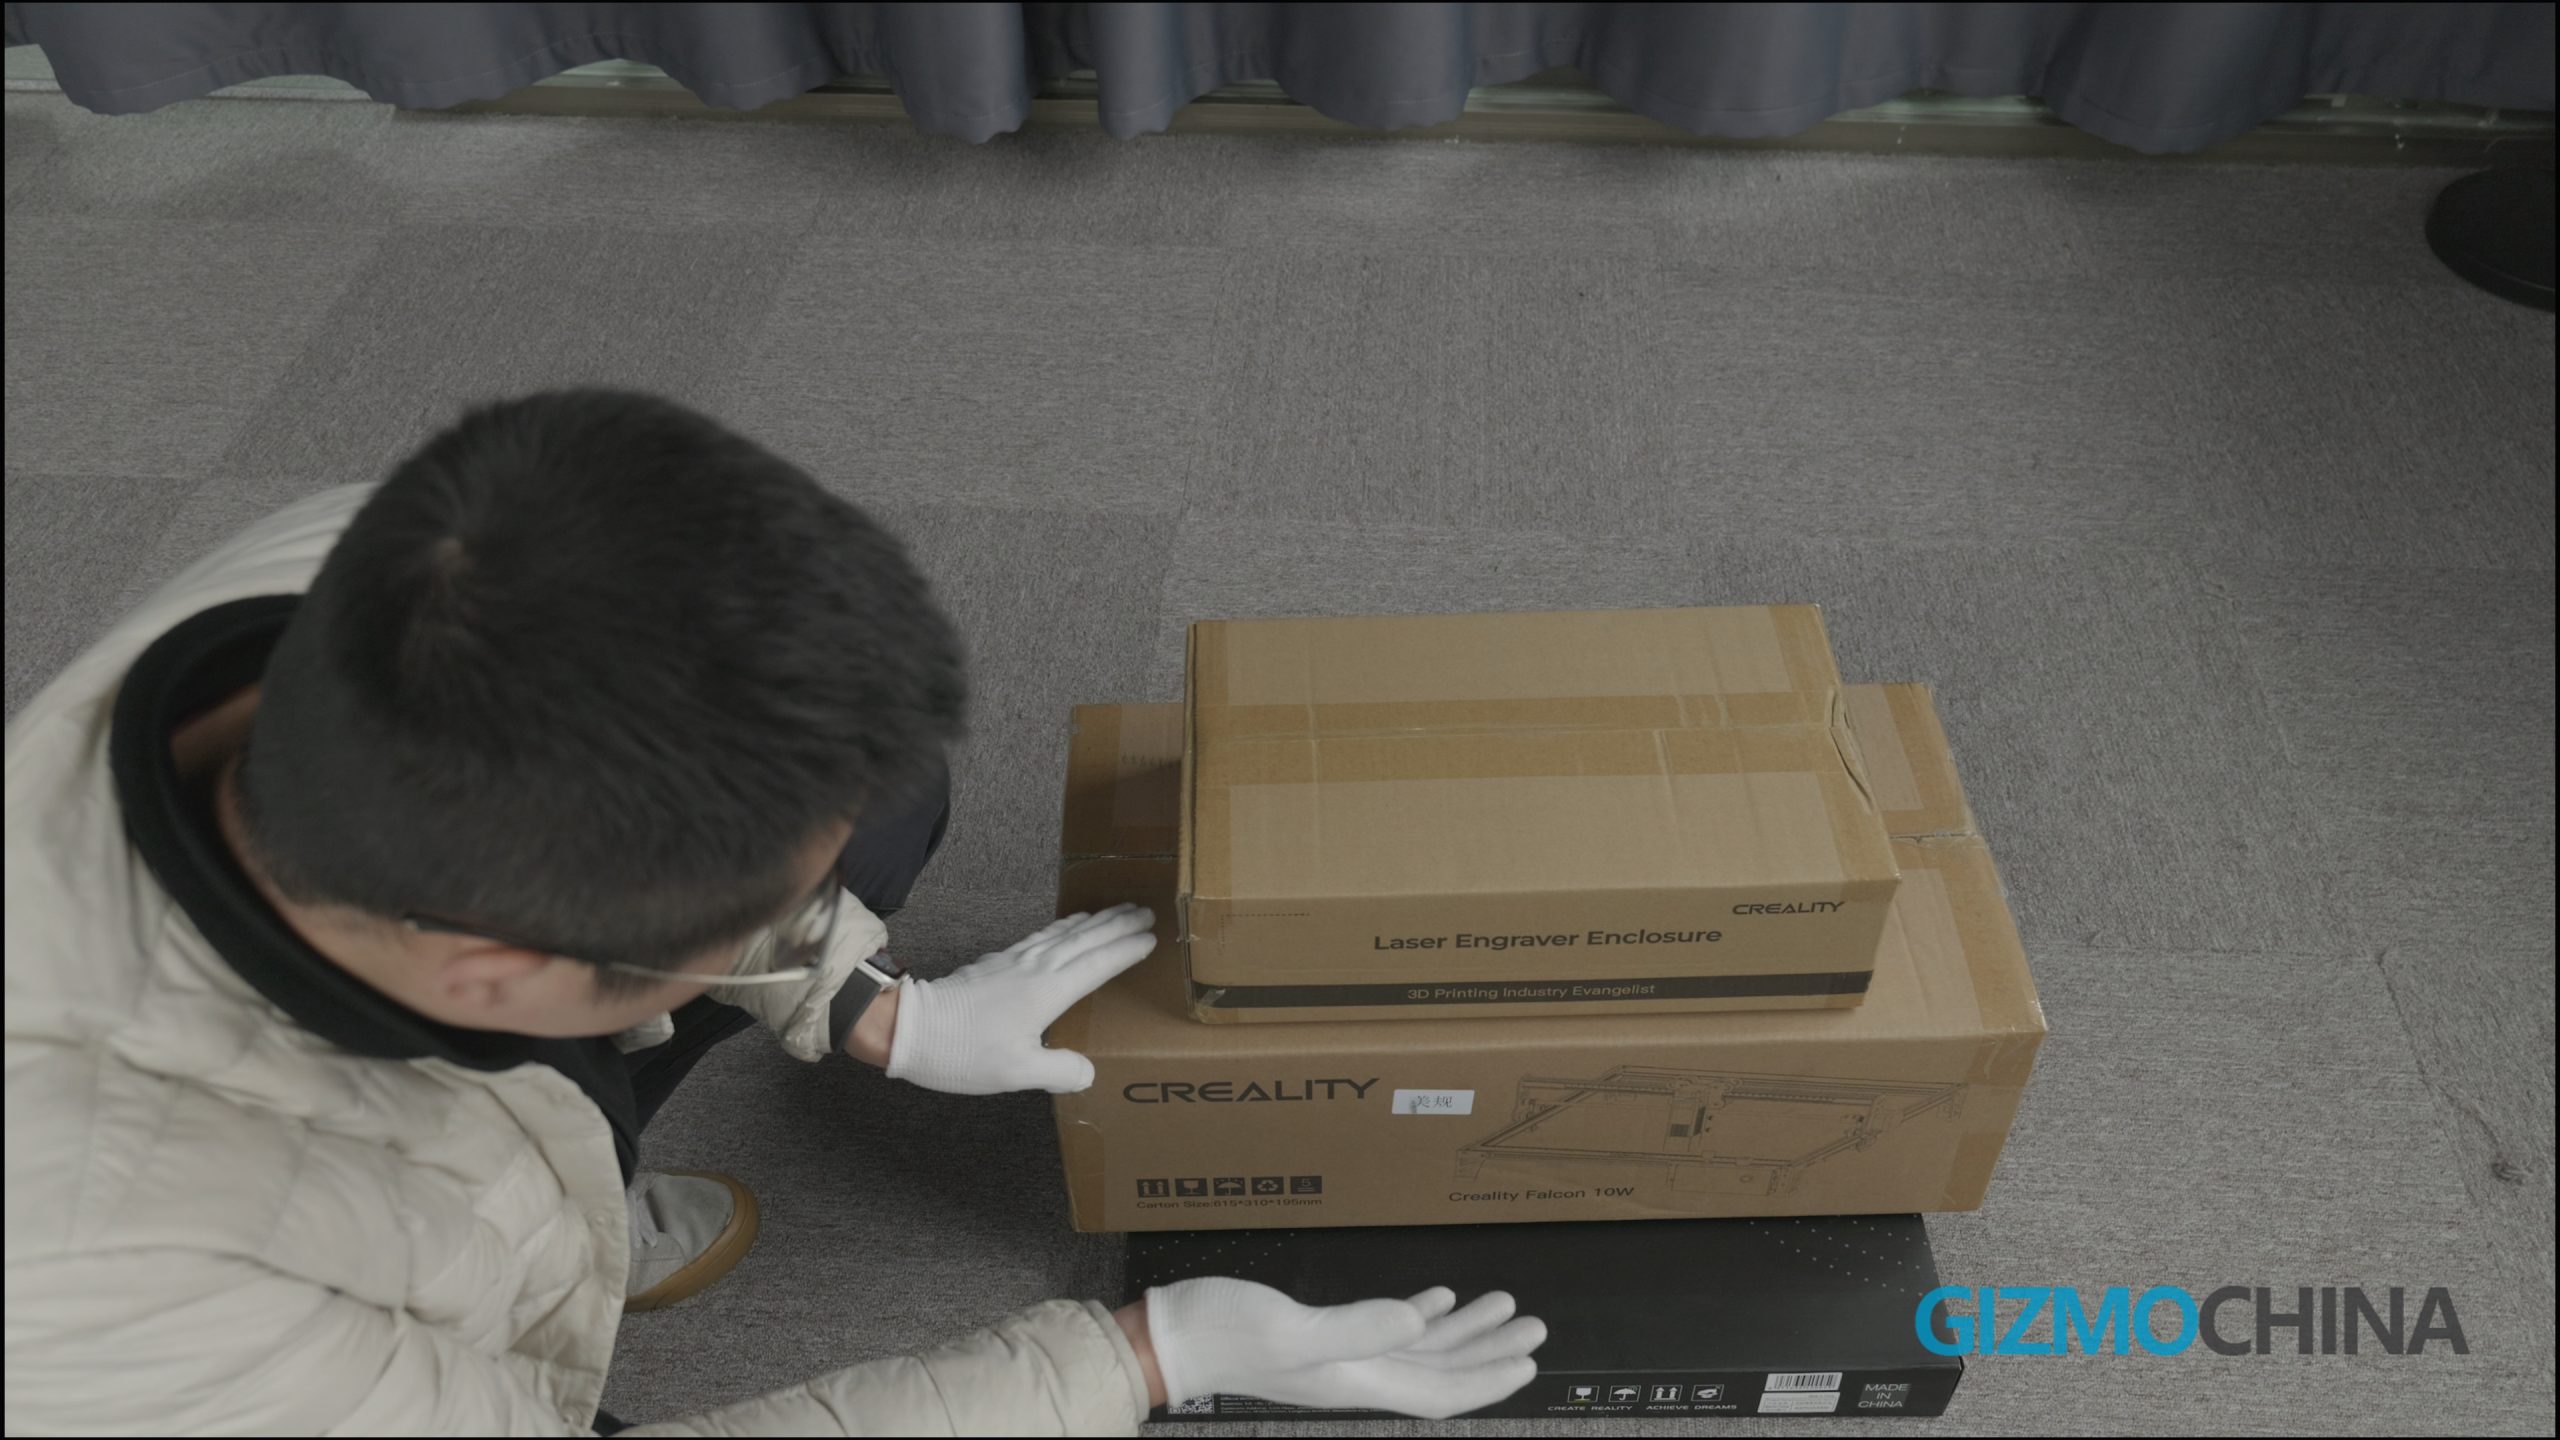
So moving onto the packaging stuff. As you can see, those three units we mentioned are packed separately. The assembly of the enclosure and honeycomb plates are pretty easy, following up on the instruction manual will enable you to finish it in 10mins.
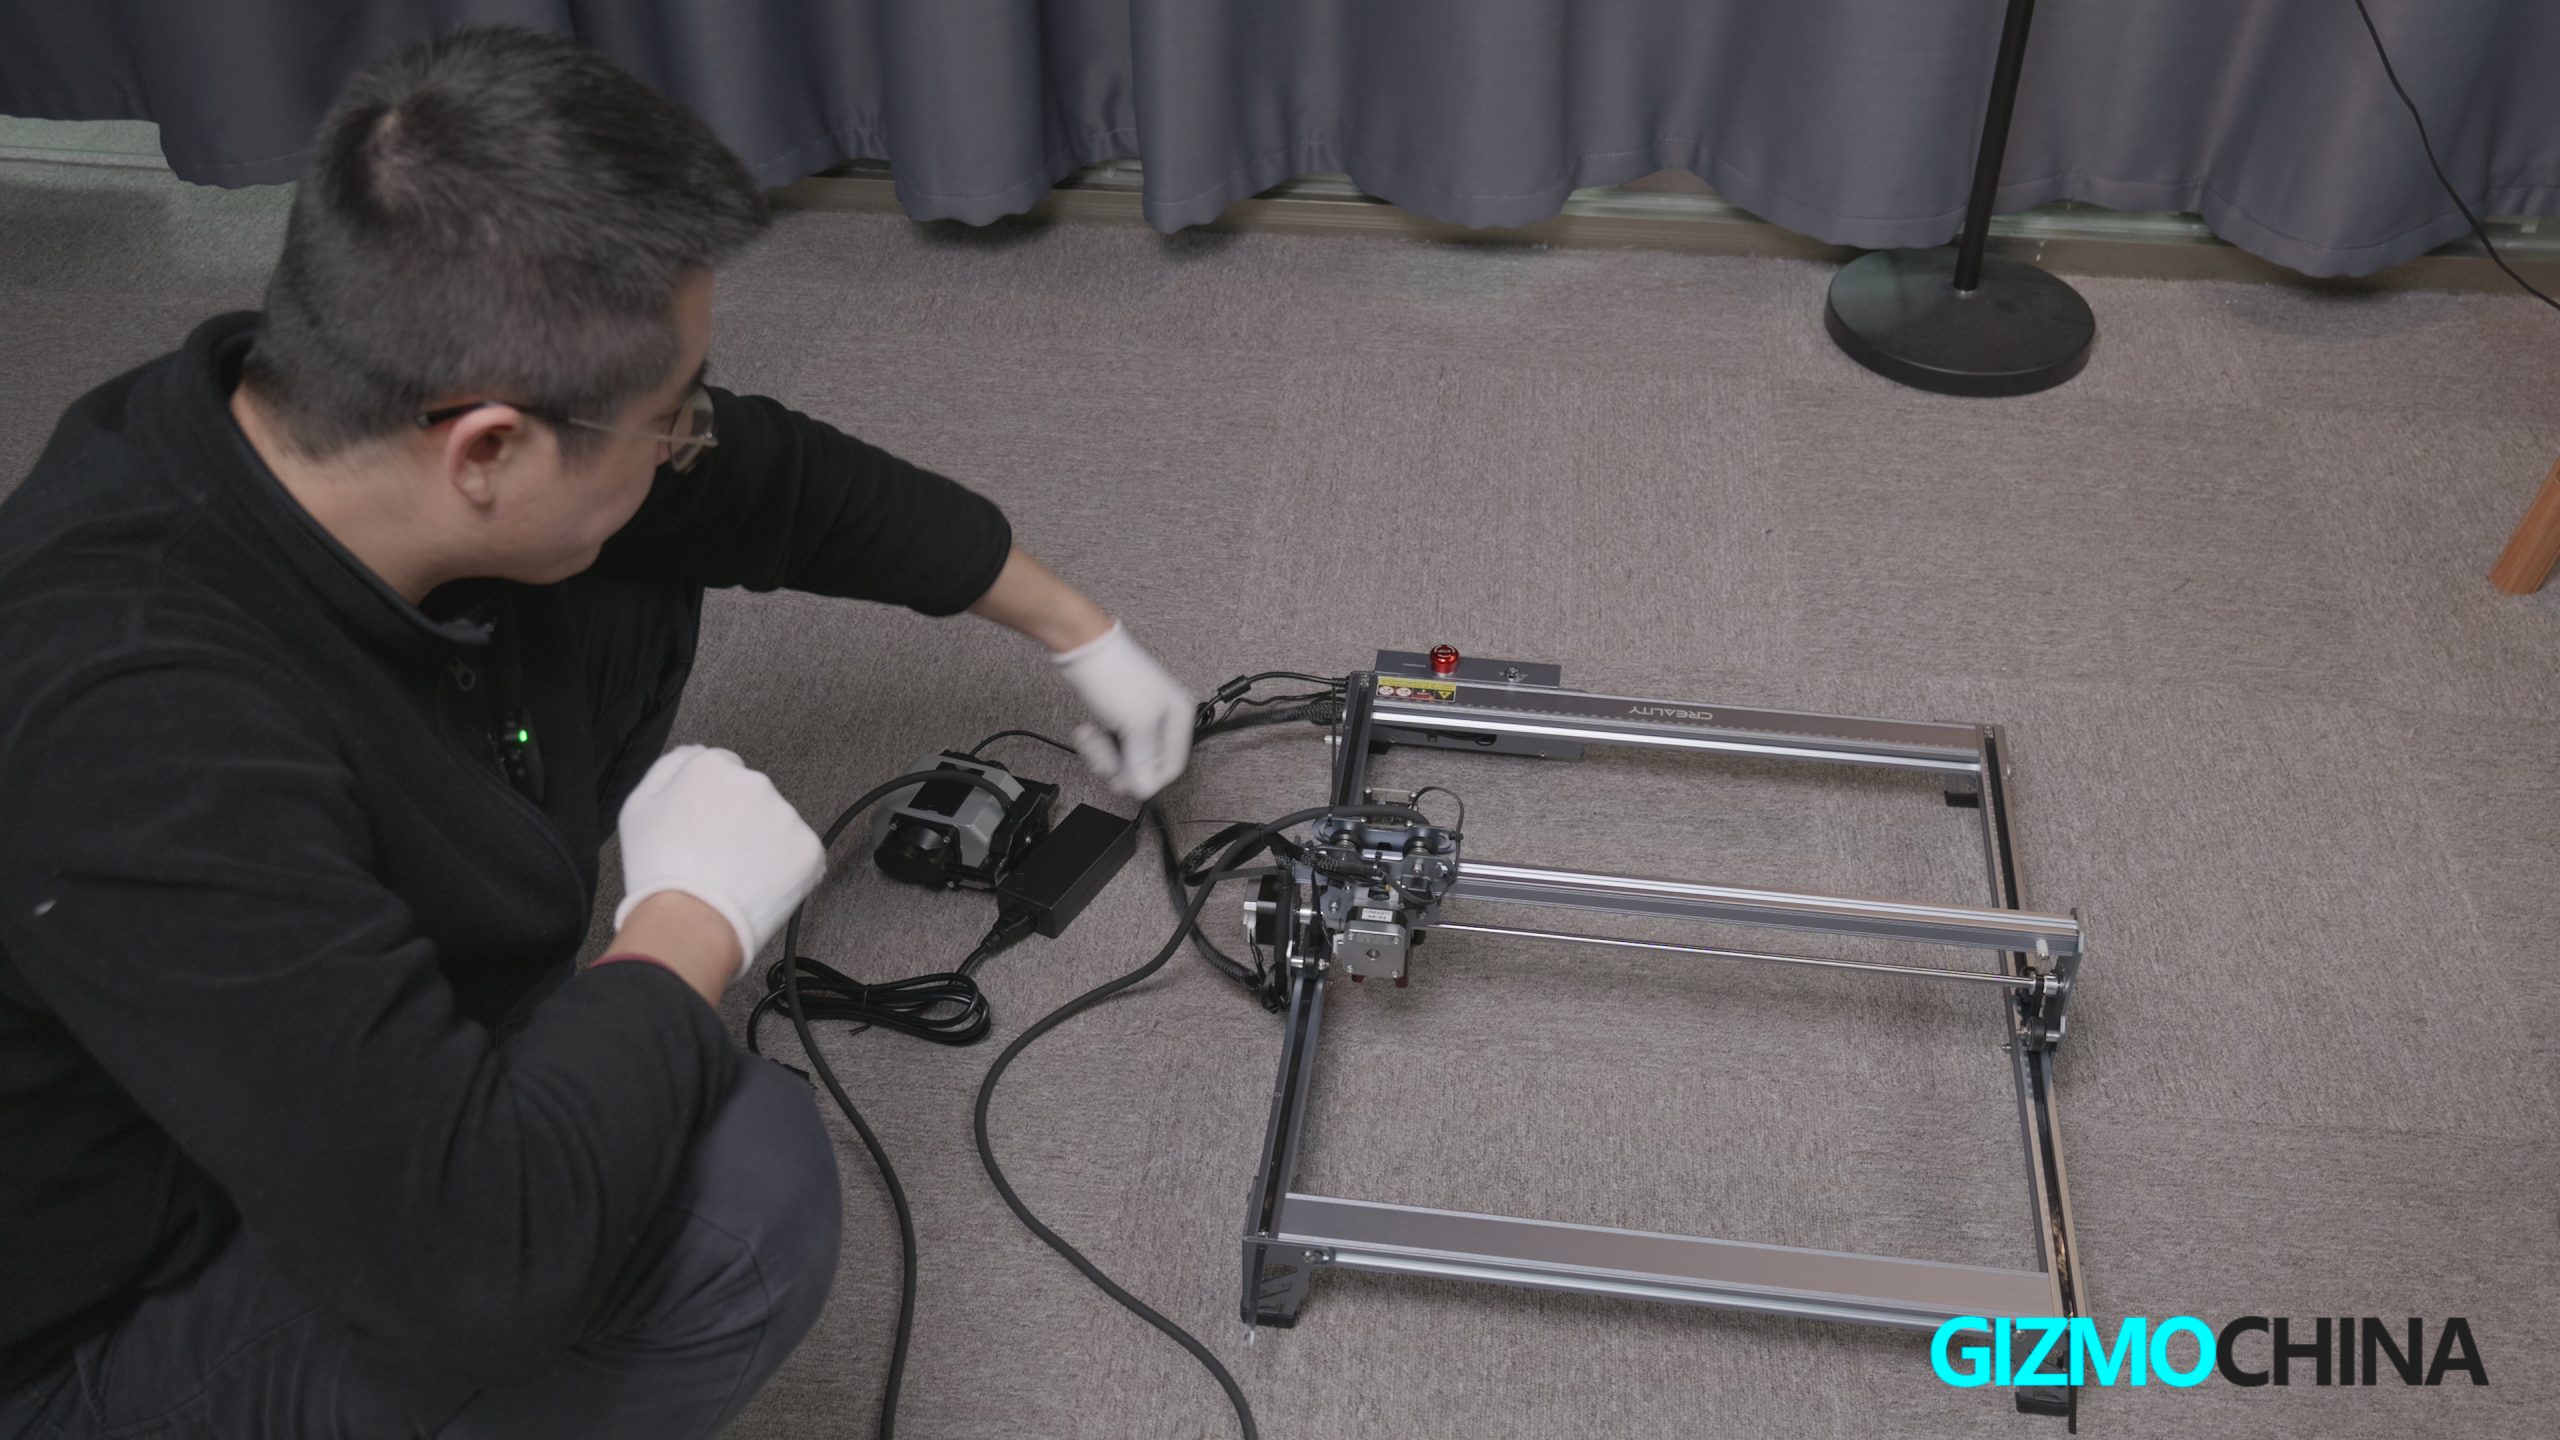
Well for the main unit, it is a 30mins of work, which is also quite simple. Most of the work is in the X and Y axis, first we need to get the positions of the parameters correctly, as they must be facing inside, so later when you place the engraving material on the honeycomb plate, you have a rough idea of the X and Y positions. When the circle is completed, it’s time to put the racket with the laser onto it, the laser unit comes in as a complete form, so it saves a lot of work for everyone including some new comers like us, very thoughtful. Lastly, we need to put the air-assist device/pump, this parts are new to the Falcon series, and this is highly anticipated by previous customers, the benefit it brings to the unit is huge, which we will talk about later on.
Some tips we found when assembling the unit:
- Watch the tutorial video carefully or slow it down a bit, to better learn about how to get the belts correctly. It can be overwhelming for people who don’t know how the belt mechanism works, so it may take more time.
- We found that it’s better to tie the hose of the air-assist device at the end of the X-axis, which is the opposite side of the power cable, and it should be the right length. The benefit of doing so is to not let the hose touch the honeycomb plate, therefore won’t be hurt by the laser.
After we get the whole unit up and running, we can see the specs here:
- Dimensions: 52 x 60 x 19cm (20 x 24 x 7.5 inches)
- Laser source: Semiconductor type
- Laser power: 10Watts
- Laser engraving software: LaserGRBK, LightBurn
- Operating System: MacOS, Windows
- Voltage Input: 100-240 volts, 50-60Hz
- Power supply voltage output: 24V, 3.0A, 72W
- Safety Certifications: CE, UKCA, UL, etc
- Supported materials: wood, bamboo, rubber, leather, leather, fabric, acrylic, plastic, etc
Test
As we are new to this hobby, we rely on the tutorials a lot. Luckily, Creality has prepared some instruction videos in the TF card, along with some sample Gcode files to start with.
Before we start the test, it’s a must to mention three major highlights or improvements this unit has:
- The cover around the laser. This cover is tinted, so it significantly reduces the laser flash into our eyes.
- The cover is magnetic, so it snaps on easy and secured, very thoughtful design.
- There is a air-assist device built in, so the debris won’t stay on the surface of the material, therefore there won’t be any burnt stain left.
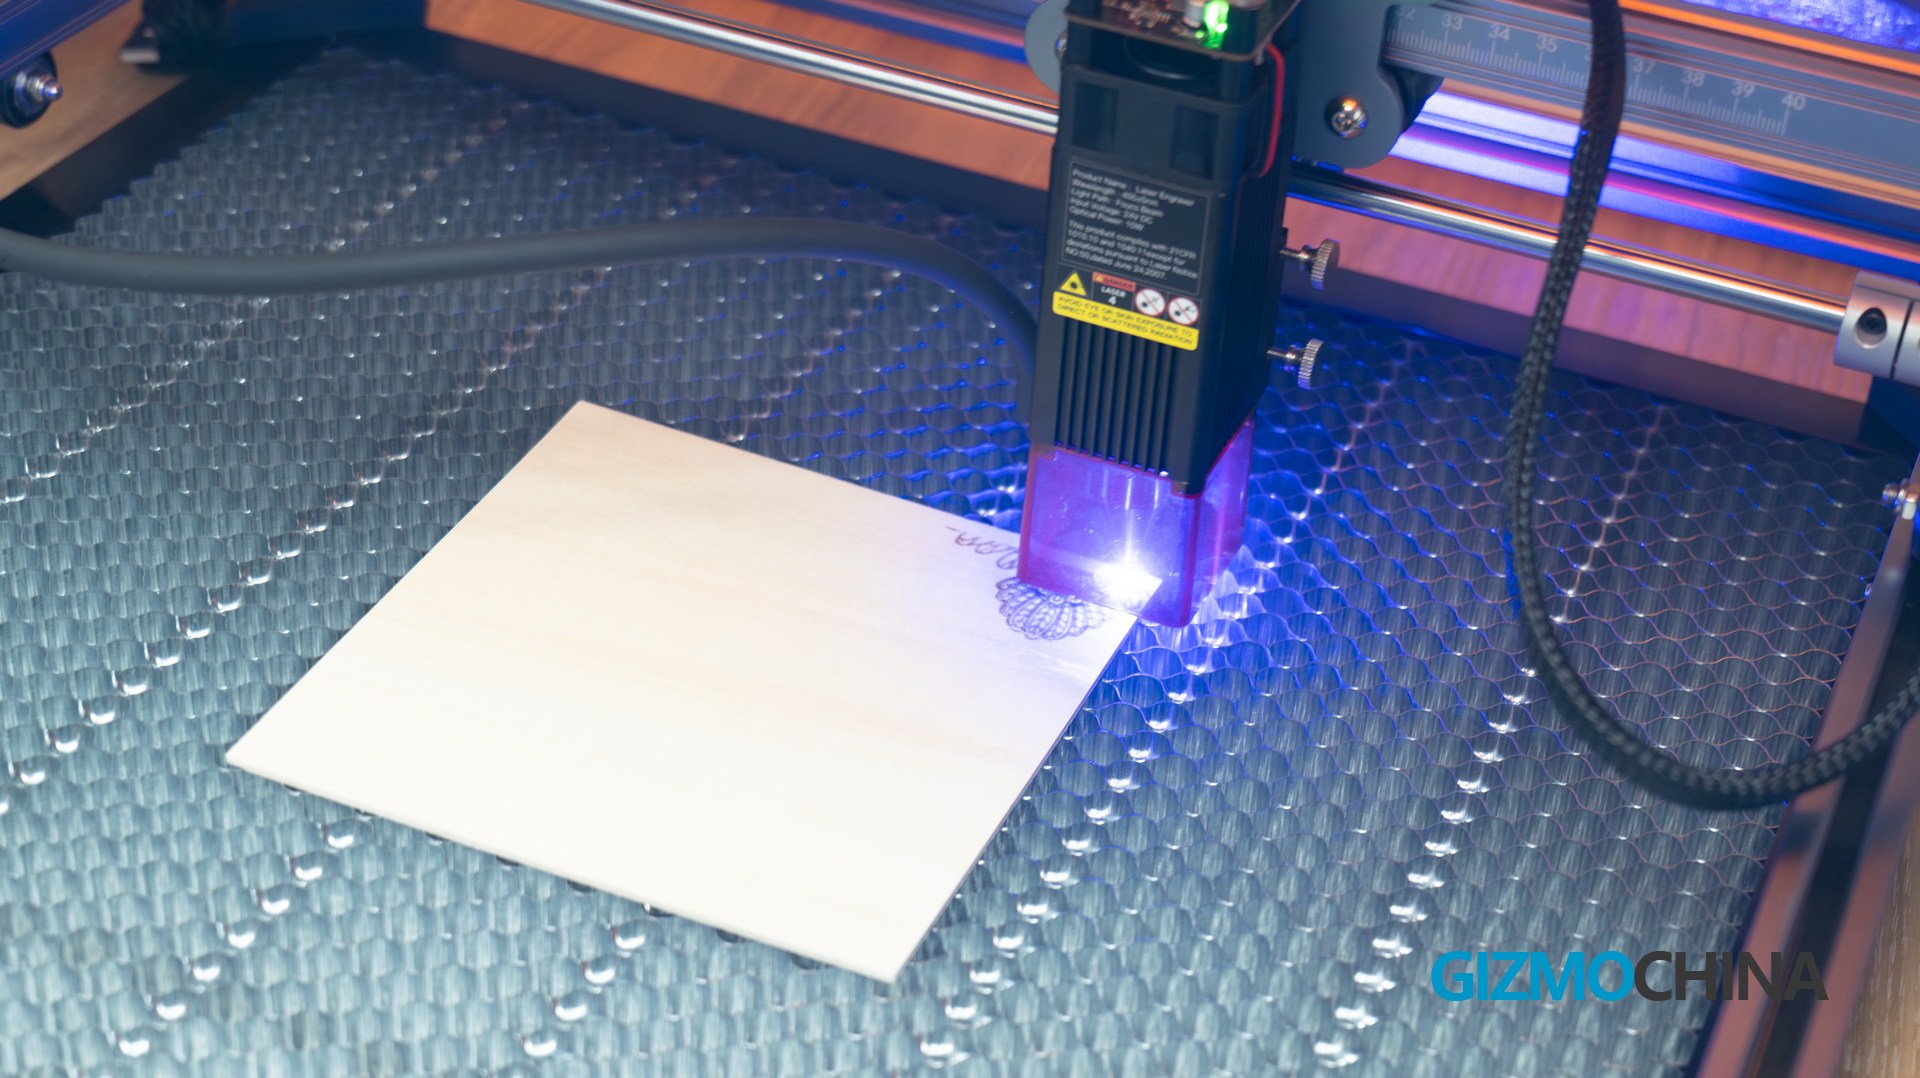
First we tested it in the simplest way, which is putting the TF card in and let it do its job. Well it performs ok, but it does not have that pleasure of creating your own things. So we went to the software to make our own.
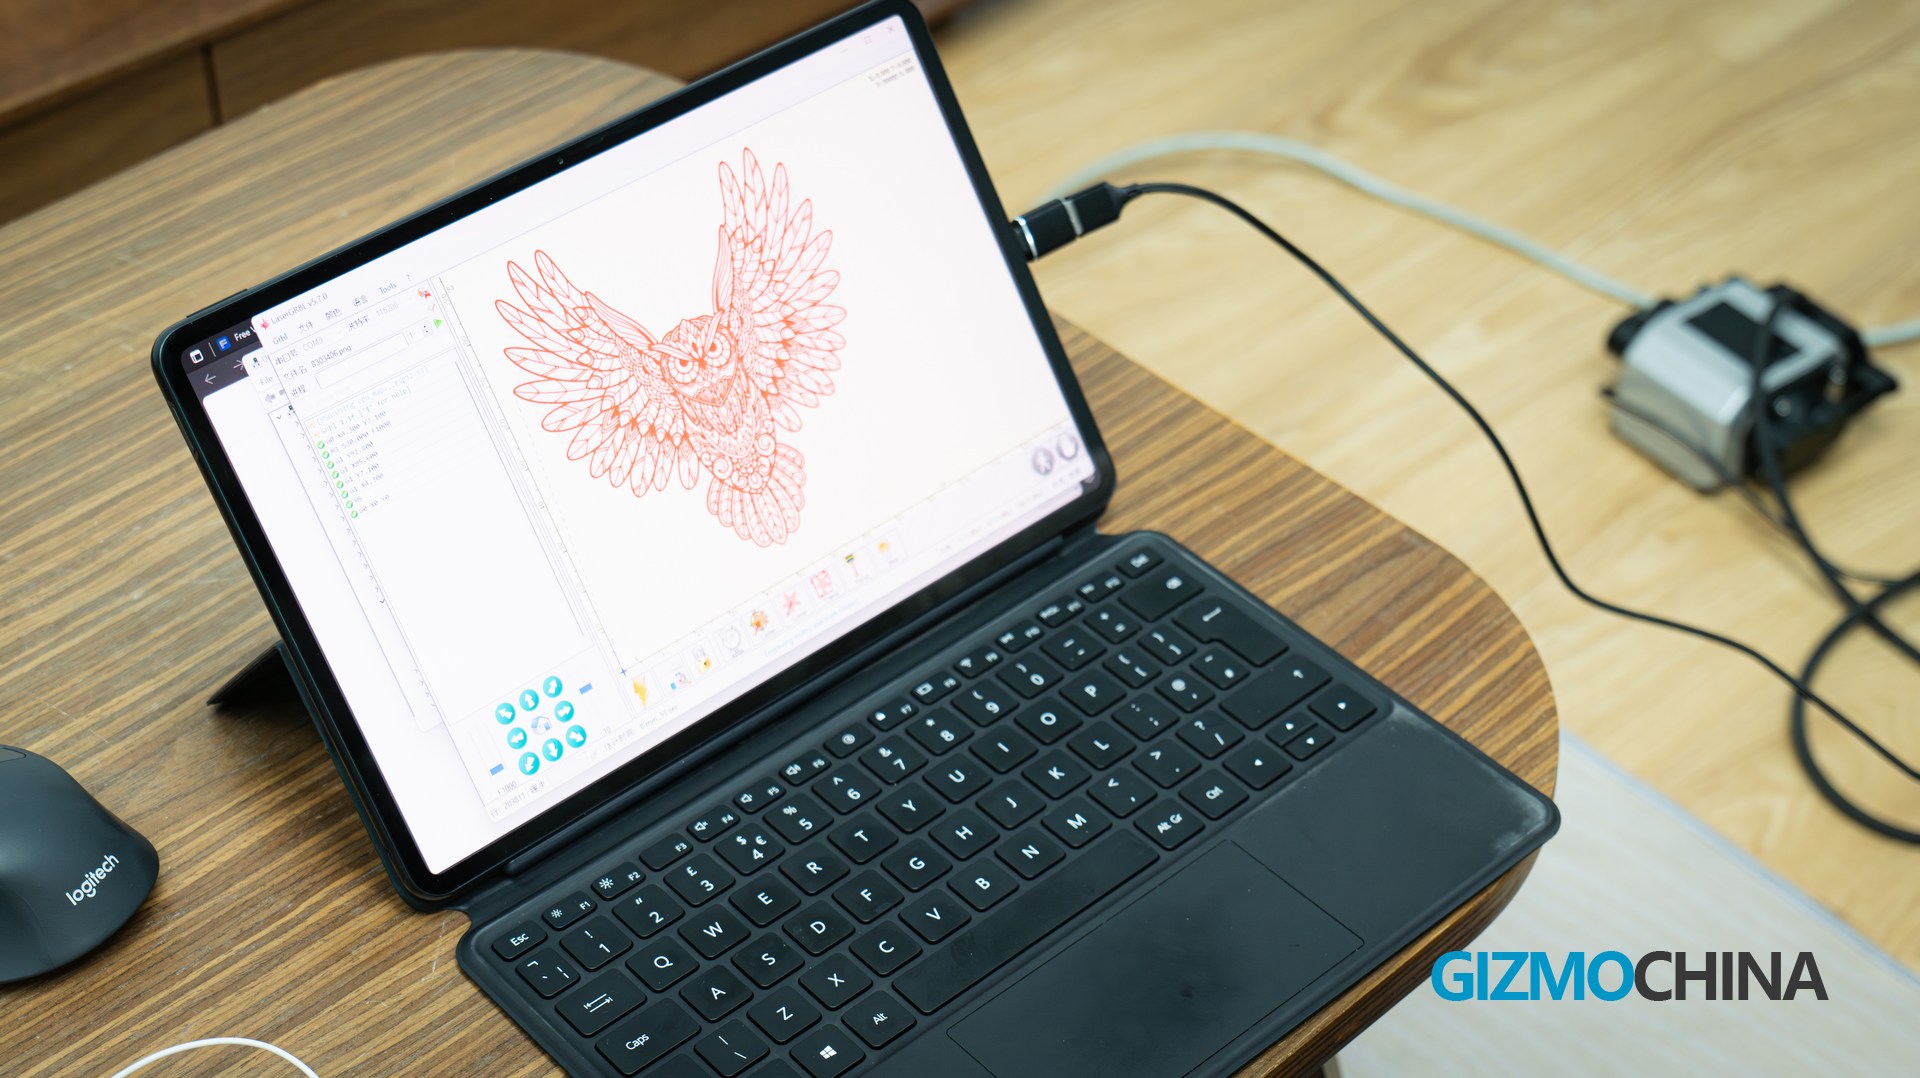
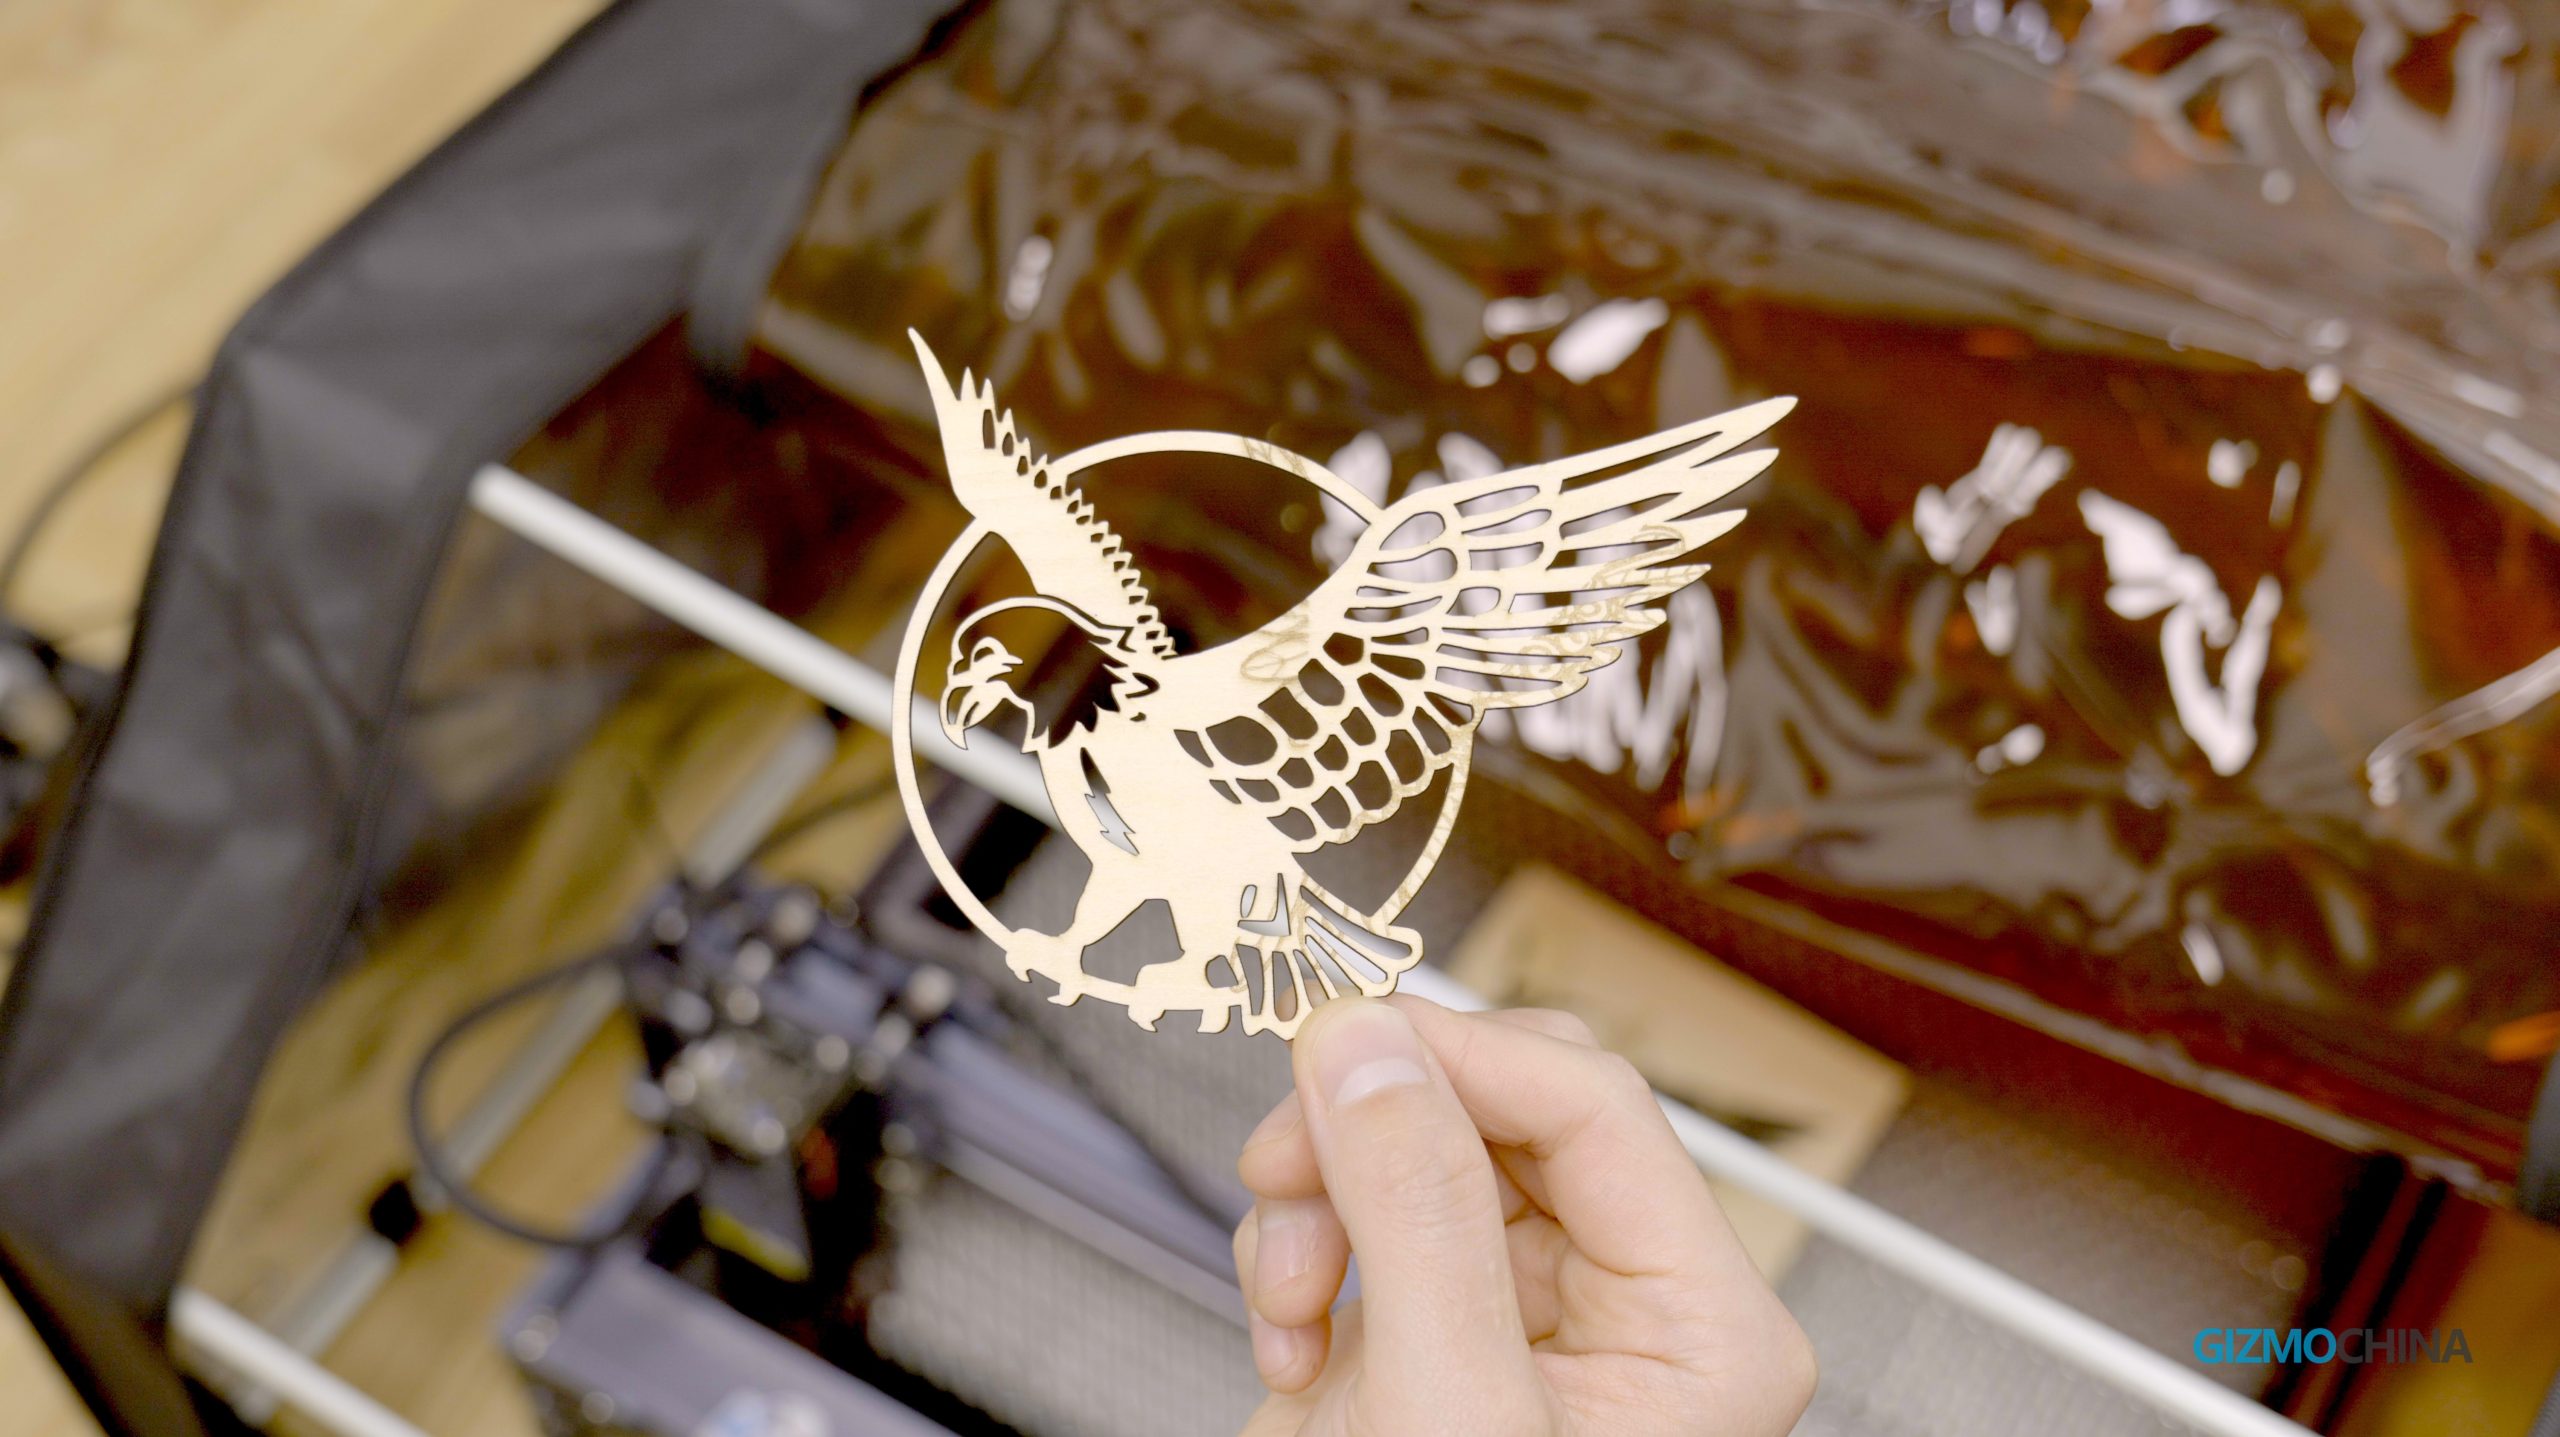
We downloaded the LaserGRBL and started exploring. First we downloaded some free assets online, like this owl. It’s slightly complicated but the lines are not quite smashed together, so it is a middle level difficult. We followed the instruction video to do it, and it did not go well as we expected. So this is the time that we would like to bring out the first suggestion to Creality, which is that we hope there is more detailed instruction videos or materials for beginners, so everybody can enjoy the fun of creating.
By the third day we got the machine, we managed to learn how to do the basic engraving, it’s obviously not perfect, as the image is not aligned in the center, and we haven’t tried cutting materials, so we need to spend more time on it.
Verdict
So to sum up our experience with this Creality Falcon 10W Pro Laser Engraver, it is a great machine to start with in this hobby. There are a lot of features you can have with it, such as the Bidirectional Limit Switch, Active Stop Function, Security Lock Design, Emergency Stop Button, Laser Protective Cover. And we learned that the laser unit can be upgraded to a 20W one, which is available right now, and also the price on this one is quite good compared to some other laser engravers on this market. So if you are looking for your first laser engraver, this is the best option so far.

