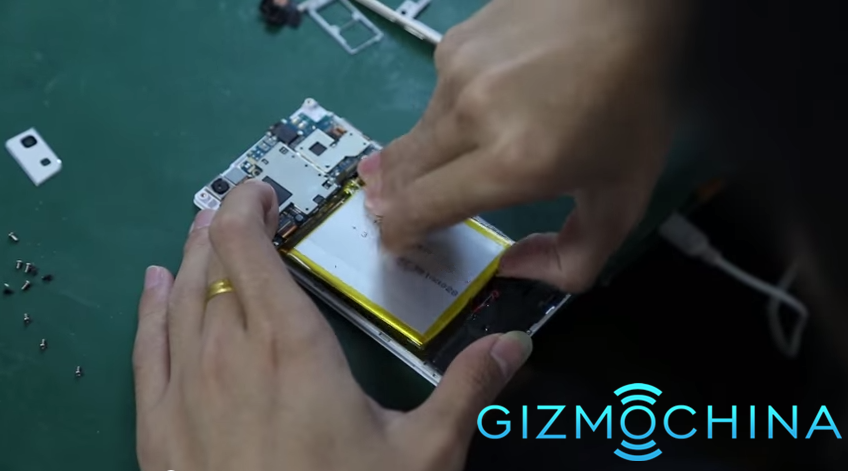
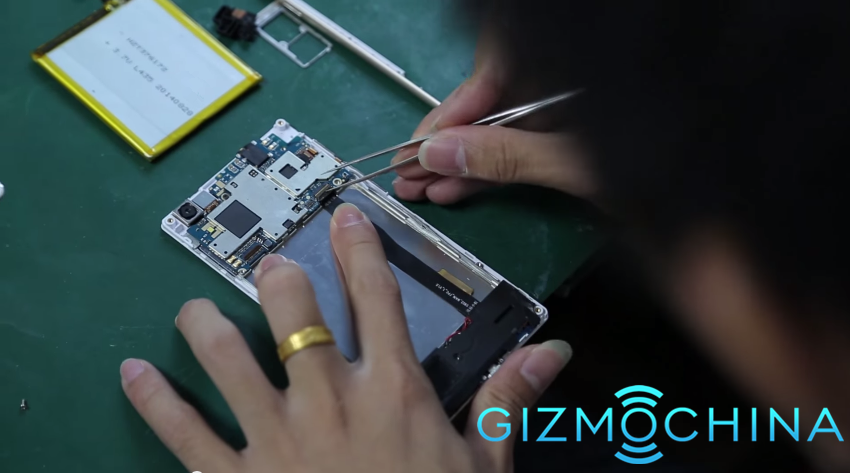
Please note: The Doogee DG900 we’ve got is prototype.
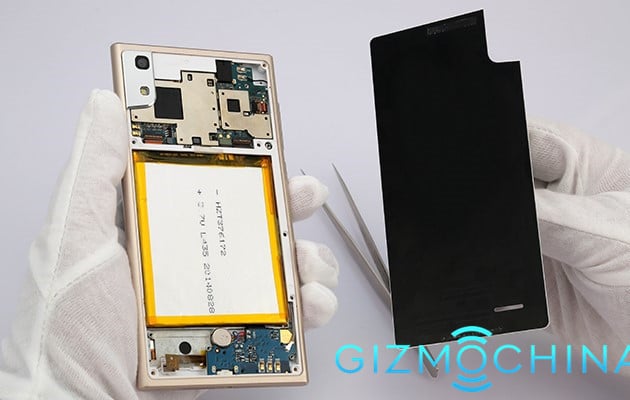
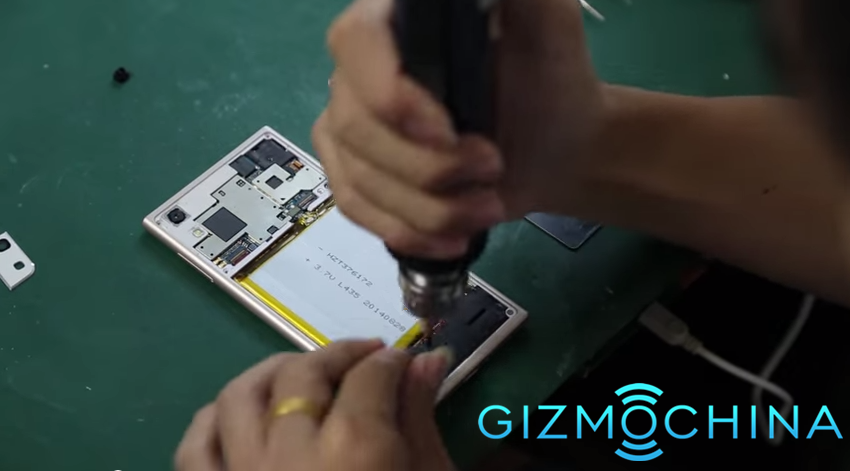
Rear cover: The Doogee DG900’s rear cover is connected to the camera’s protective panel and chassis with very strong rubber. You can soften the rubber by heating it up to take off the rear cover. Afterwards, take off the camera’s protective case with your hand. Take note that as you do this, you cannot head the middle part of the rear cover (at about 70 degrees Celsius at most). After taking off the rear cover, you can see the interior of the Doogee DG900 with its motherboard, battery, and other accessories. Both the rear cover and screen are made of Gorilla glass giving the phone an excellent texture.
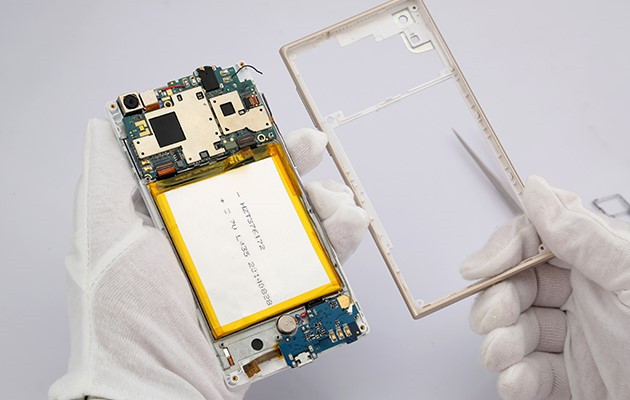
Chassis: The Doogee DG900 has support for SIM hot plugging (they can be put in without turning off the device). This makes it convenient for the user when changing SIM cards. The sides of this phone are not as curvy as the iPhone 6. The phone’s sturdy edges make it look majestic.
Battery: You can take off the battery by removing the cable connecting it to the motherboard. Be very careful though because the cable can be easily damaged. We actually do not think that regular users should try dislodging the battery and prefer that they find a good technician to do so.
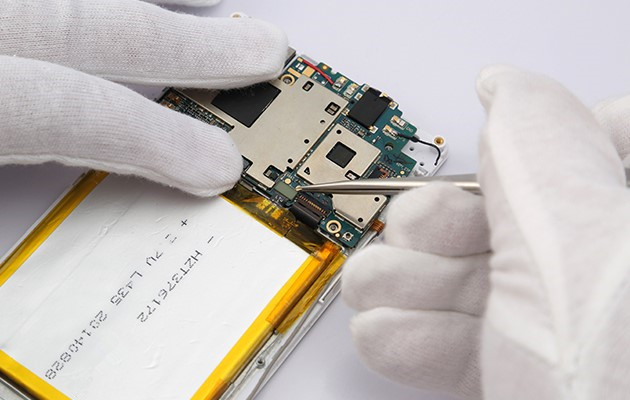
Motherboard: The motherboard and screen have three cable ports as the last photo shows.
The motherboard and secondary board are connected in two places: a flat cable port and a coaxial cable port. Carefully disconnect the former and then the latter. Then, use a pair of tweezers to take out the Home and Volume buttons. Then unscrew the little bolt connecting the motherboard and screen, and you can take off the former. Like with most cellphones, taking off the motherboard is very difficult. As we disassemble it, we can see just how well built and sturdy this phone is.
Camera: The rear-facing camera is everyone’s beloved Sony IMX135 camera with 5P lens. Expect great quality photos.
Secondary board: After detaching the motherboard, you can go on with the secondary board. The flat cable connecting both is glued to the inside of the screen case. Simply use your hand to take it off. There is also a bolt connecting the secondary board and screen on the lower right side. Just take off the paper glued to the plastic protective case with a pair of pliers, and you can see this bolt. Take out this bolt to take off the protective case. As you look at the secondary board, you can tell how everything is integrated with each other. One advantage of this is that there are less wires which keeps everything neat and organized.
That’s it. For the most part, disassembling the Doogee DG900 has been quite easy.


