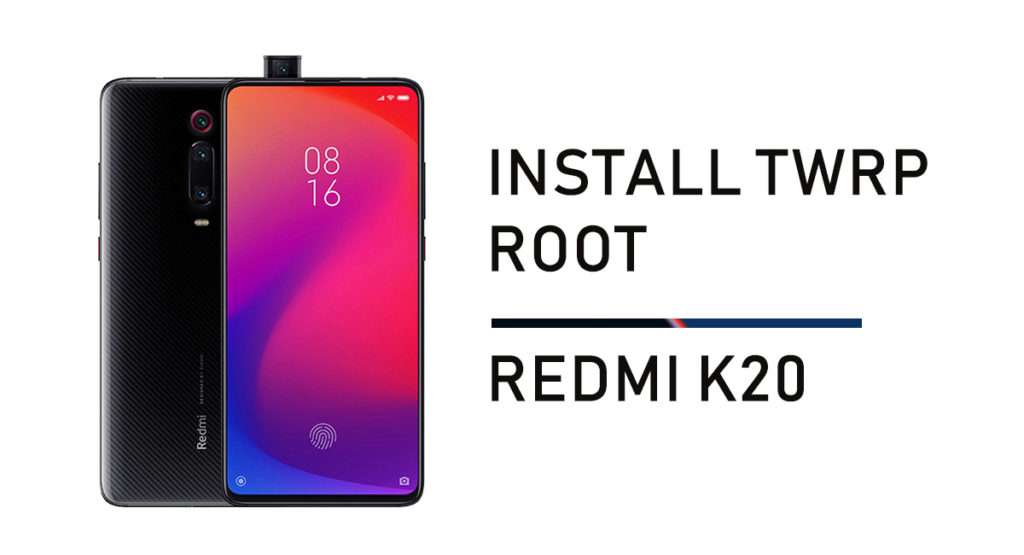
Redmi launched the Redmi K20 Pro in China last month carrying high-end specifications. Due to the device’s affordability and competitive specs, it is getting tremendous response from buyers. It has even received enough attention in a short period from the third-party developers. The users can now install TWRP and root the Redmi K20 Pro.

Redmi K20 series is now coming to some new markets after the initial launch in China. The Redmi K20 Pro carries top-notch Snapdragon 855 SoC that features single core at 2.84GHz, three cores at 2.42GHz and the remaining four cores at 1.8GHz. The device is available with 6/8GB RAM and 64/128/256 GB Internal storage. In optics, there’s a triple rear camera module with 48MP+8MP+13MP primary camera and a 20 MP front camera for selfies. The device carries a premium look and has a pop-up module housing a front selfie camera. The device carries a connectivity option such as Wi-Fi 802.11 a/b/g/n/ac, Bluetooth v5.00, NFC, Infrared, USB Type-C, 3G, and 4G. The phone includes accelerometer, ambient light sensor, compass/magnetometer, gyroscope, proximity sensor, and fingerprint sensor.
Rooting the Redmi K20 Pro allows users to modify the system. It aids customizability on the device with the help of third-party recoveries, MODS and other tweaks. Before rooting, we need to install a custom recovery like TWRP to install external flashable files, SUperSU, Mods, etc. TWRP is easy to install and use custom recovery. It even facilitates the nandroid backup of your device easily and effectively. However, it will result in the loss of warranty.
Note: GizmoChina.com is not responsible for any damage to the device and data. Rooting also voids the warranty of your device.
Pre-requisites
- Make sure you have unlocked the bootloader of Redmi K20 Pro.
- Download ADB and Fastboot Drivers on PC.
- Download TWRP recovery image.
- Download Chainfire’s SuperSu
- Backup important data on your PC or any external media.
- You need a Laptop or PC.
- Ensure to keep at least 50% battery.
Steps to install TWRP on Redmi K20 Pro
Follow the steps below carefully, as missing any step would result in damaging the phone.
- Extract ADB tools in a folder.
- Download TWRP and move it into the extracted TWRP folder.
- Now, Enable Developer Mode option by heading to the Settings>About Phone>Build Number and tap it 7 times to enable developer option.
- Enable USB Debugging mode by heading to the Settings>Develper Option>Enable Debugging mode.
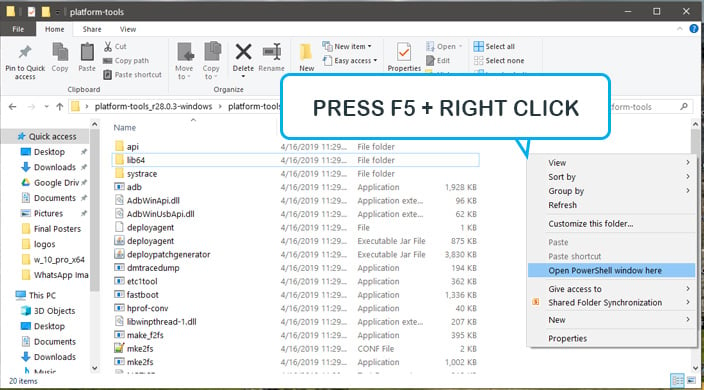
- Open command prompt in the extracted TWRP folder by pressing Shift + Right Click on the mouse.

- Power off the device and then boot your device into the fastboot mode by pressing the power + volume up button simultaneously.
- Connect your device with PC via USB cable.
- Verify the device’s connectivity status by executing the command below:
adb devices
- Type the command below to reboot into bootloader:
fastboot reboot bootloader
- Once into the bootloader mode, flash the TWRP by the following command. (Note: Replace the TWRP.img with the name of recovery).
fastboot flash twrp.img
- Once the installation is completed. You can type the command to reboot your device by typing:
fastboot reboot
You have successfully flashed TWRP recovery on your device. Now, proceed with the below steps to root Redmi K20 Pro.
Steps to Root Redmi K20 Pro with SuperSu
SuperSu is a zip file by chainfire which allows users to gain root access. To flash it on the Redmi K20 Pro, follow the procedure below:
- Download the latest SuperSu zip on your Phone, and then move it to the rot of the device.
- Power off the Redmi K20 and then hold volume up + power button simultaneously to boot into the recovery.
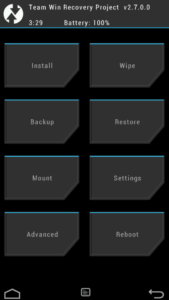
- Once in the TWRP recovery, press ‘Install‘ and then browse the SuperSu file.

- Now flash the SuperSu zip after swiping the slider below.
- After flashing, reboot your device and enjoy.
We hope you have successfully rooted the Xiaomi Redmi K20. If you have any issue or problem while performing the procedure above, then let us know via comments below.


