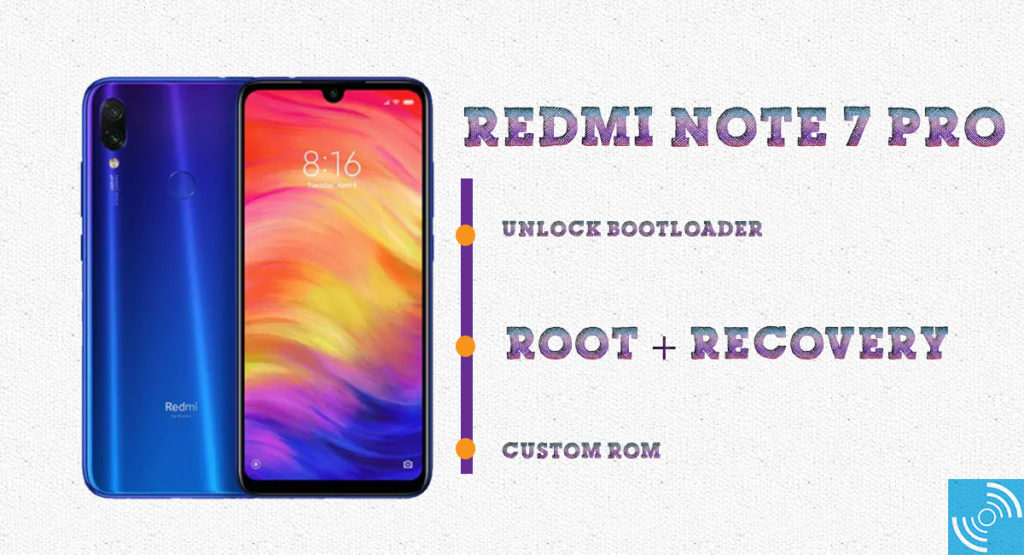
Rooting an Android device has become quite easy with a single quick interface. The custom recoveries like TWRP, Philz, and others even facilitates the users with their GUI interface. The users can also root without the PC nowadays, but the compatibility of rooting using the mobile itself is limited to some popular devices. In today’s writeup, we will let you know how you can install TWRP Recovery and root Xiaomi Redmi Note 7 Pro using Magisk.

TWRP which stands for TeamWin Recovery Project. It is an open-source and entirely GUI based custom recovery for Android devices. It allows Android users to enjoy fully touch-based UI and flash custom ROMs, MODs, Magisk, SuperSu, etc. TWRP is a door to install different customization modules with ease. It even supports full system backups of the current system state which are impossible without the custom recovery.
Advantages of Custom Recovery
- Easy Full-System backups
- Flash image file on the device.
- Adds the ability to remove bloatware from the stock ROM.
- Supports underclock and overclock of the processor.
- Quickly flash custom ROM, MOD, Framework.
- Support to quickly flash Xposed and Magisk Framework.
- Easy installation of SUperSu and Magisk for rooting
- Ability to wipe cache and data.
Xiaomi launched Redmi Note 7 Pro a few months ago with some attention-grabbing features. It debuted along with its younger feature-packed sibling – Redmi Note 7. There are some incredible features such as a 48-megapixel rear camera, an Octa-Core Snapdragon 675 processor, 4000 mAh battery and latest Android 9.0 Pie. The device carries a 6.3-inch full-HD+ display having the resolution of 1080×2340 pixels. It is protected with Corning Gorilla Glass 5. It can rapidly charge the 4000 mAh battery with Qualcomm’s Quick Charge 4.0.
Note: GizmoChina.com is not responsible for any kind of damage to data or device while performing the unlocking. It will also void the device’s warranty and remove all data on the device. You’re proceeding at your own risk.
Install TWRP on Redmi Note 7 Pro
It is recommended that you carefully follow all the steps mentioned below.
Pre-Requisites:
- Make sure your battery is charged above 50%.
- Backup your Data on any external media or perform a Nandroid backup.
- Download ADB and Fastboot Drivers on the PC/Laptop.
- Download latest Xiaomi USB Drivers on the PC
- Download and save twrp-3.2.3-violet.img it to the Extracted folder of ADB – Fastboot drivers.
- Unlocked Bootloader of Xiaomi Redmi Note 7 Pro.
Steps to install TWRP on Redmi Note 7 Pro
- If Redmi Note 7’s Bootloader is unlocked, then you’re good to go with the next steps.
- Enable the Debugging Mode, and OEM unlock on your device. Both the options can be found in the Developer Options.
- Now, connect your device with PC via USB cable.
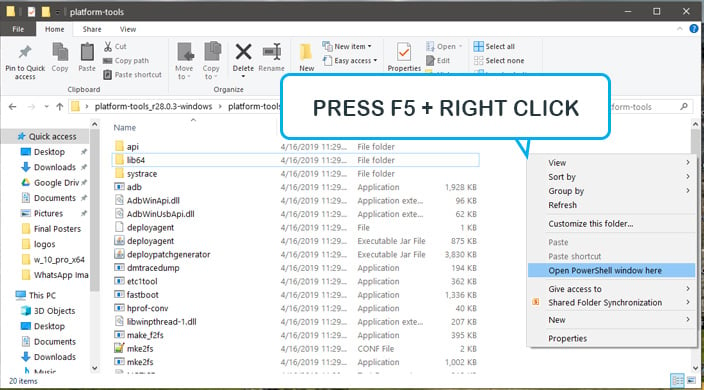
- Extract ADB and Fastboot drivers in a folder on the PC. Then, Open the cmd or PowerShell by pressing Shift key + Right-Clicking in the same folder.

- Once all the setup is complete, type the following command to reboot the Redmi Note 7 Pro into the fastboot mode (Note: Accept a pop-up asking for the USB debugging permission on your smartphone).
adb reboot bootloader
- After booting into the fastboot mode, type the below-mentioned command to flash the TWRP image you download. (Note: Place the twrp-3.2.3-violet.img file in the ADB and Fastboot extracted the folder.)
fastboot flash recovery twrp-3.2.3-violet.img
- After the successful flashing, reboot the device using the following command:
fastboot reboot
- Enjoy!
You have successfully installed TWRP Recovery on Xiaomi Redmi Note 7 Pro. In the next step, we will flash Magisk to get root access on teh device.
Root Redmi Note 7 Pro using Magisk
Make Sure to download the Magisk zip and Disable Encryption patch and move them to the phone’s storage.
-
- Download Magisk.Zip and Disable Force Encryption Treble and move them to the Phone storage.
- After rebooting, connect your device with the PC to get root access.
- Type the ADB command to boot into the TWRP recovery successfully:
adb reboot recovery
- The device will automatically boot into TWRP, now take a NANDroid backup if you need data.
- Now, Select “Install” from the TWRP and browse for the Magisk.zip file. Tap on it to select it.
- Now, “Swipe to confirm flash” action.
- Upon successful installation, select “Install” once again and locate “no-verity-force-encrypt.zip” file. Tap it to select it.
- Again “Swipe to confirm flash” action.
- Reboot System from TWRP Recovery.
- Upon rebooting, a Magisk Manager application will be present from where you can control the access of each app.
- You can also install the Root Checker app to verify root access.
We hope you’ve successfully rooted Xiaomi Redmi Note 7 Pro with Magisk. If you have any queries or any doubt, let us know via comments.


