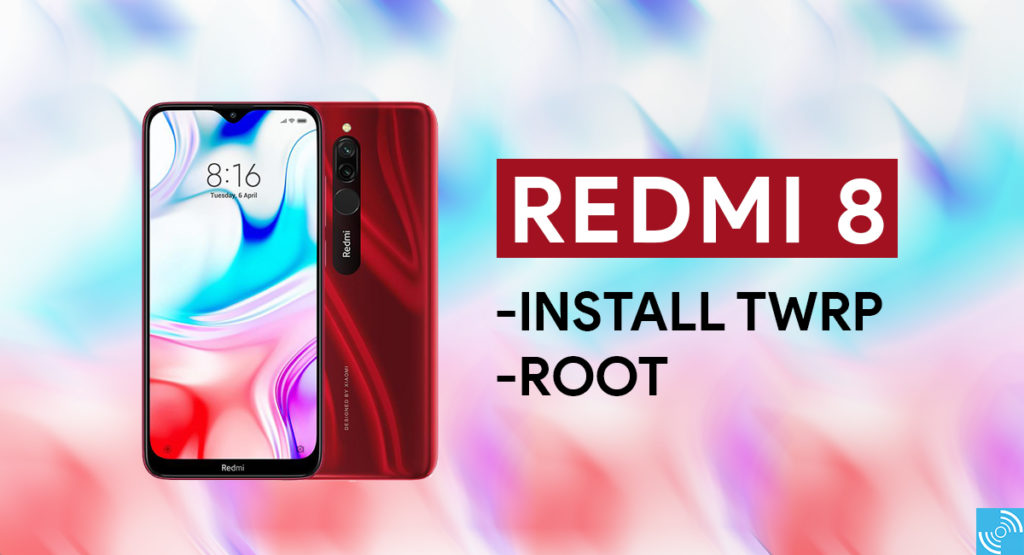
Xiaomi smartphones always remain on the top list on several development forums. The overall active userbase and the development-friendly environment are some significant reasons behind active third-party development. TWRP – Team Win Recovery Project recently extended support for Redmi 8, and the users can now flash it by following the steps below.

Editor’s Pick: Redmi 8 vs. Samsung Galaxy M10s vs. Realme C2: Specs Comparison
There are many advantages of using custom recovery like TWRP. It helps to interact with the system using a Graphical User Interface. Several other features of custom recovery include the installation of Custom ROMs, MODS, and Magisk. The user can perform the system-wide updates and can restore using the same interface.
What is Custom Recovery?
A custom recovery is a third-party recovery environment used to get the features that were limited while using stock recovery. It is an interface that helps the user to interact with the recovery environment. It carries some additional features to the stock Android recovery.
There is a wide variety of custom recoveries that are available for the Android system. However, TWRP, Philz, RedWolf, and OrangeFox are some prominent custom recoveries available for Android devices.
Advantages of Custom Recovery
- Brings the ability to flash custom Recovery
- Allows to root Android system with Magisk or SUperSu
- Enables System Backup and Restore
- Ability to flash third-party custom ROMs
- Ability to Customize the system
- Features an ability to flash custom MODs
Xiaomi Redmi 8 Specifications
Xiaomi launched the Redmi 8 last year in October featuring Qualcomm Snapdragon 439 chipset coupled with an Octa-Core processor and Adreno 505 GPU. The smartphone features a 6.22-inch IPS LCD capacitive touchscreen with a resolution of 720 x 1520 pixels having a 19:9 ratio. It is protected with Corning Gorilla Glass 5 to protect from frequent falls. The display features 400 nits brightness and offers a ~81.8% screen-to-body ratio.
Redmi 8 runs Android 9.0 Pie atop MIUI 11. There are multiple storage variants including 3GB RAM + 32GB storage and 4GB RAM + 64GB internal storage. In optics, there’s a dual rear camera featuring a 12-megapixel primary camera and a 2-megapixel depth sensor. An 8-megapixel front camera is present for selfies and video calling. Both the front and the rear-camera support HDR feature while snapping pictures.
Unlike the high-end smartphones, Redmi 8 carries a 3.5mm audio jack. In Communication, there’s a WiFi, Bluetooth 4.2, GPS, Infrared port, Radio, and USB 2.0 Type-C support. Redmi 8 hosts a 5000 mAh LiPo 18W fast-charging battery. It is available in four different colors, including Onyx Black, Ruby Red, and Sapphire Blue. A rear-mounted fingerprint is present for better authentication.
Note: Installing custom recovery may void your warranty. GizmoChina does not endorse in rooting or making any changes to your device. You may proceed to install the custom recovery at your own risk. If any damage to data or device happens, GizmoChina should not be held responsible.
Prerequisites:
- Make sure to backup all important data.
- Charge your device up to at least 50 %.
- Download and Install ADB and Fastboot drivers on PC/MAC.
- Download TWRP 3.3.1 from here and keep it into the extracted ADB and Fastboot Drivers folder.
- Unlocked Bootloader is necessary for the TWRP installation.
- Enable Developers Option by heading to the Settings > About Phone > Tap MIUI Version 7 times.
- Enable USB Debugging Mode by heading to the Settings > Additional Settings > toggle USB Debugging option.
Steps to install TWRP on Redmi 8
- Make sure you have enabled the USB Debugging option by following the above steps.
- Now, extract the ADB and Fastboot Drivers into a folder on your PC.
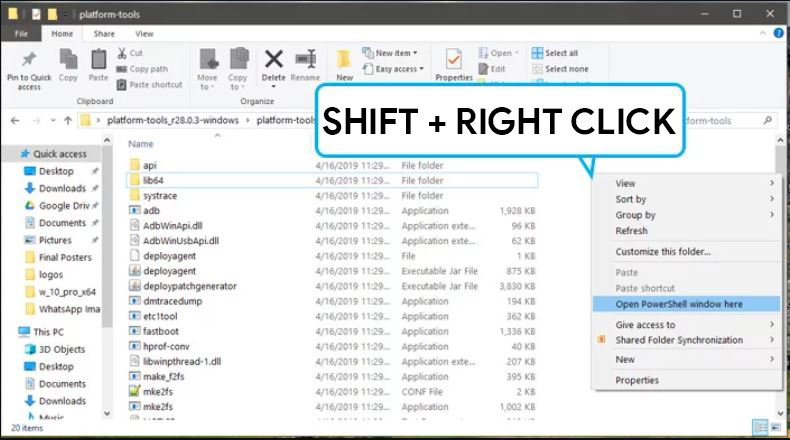
- Then, Open CMD or Powershell window by pressing the Shift + Right Mouse Key in the same folder.

- Connect your device with the PC via a USB cable.
- Poweroff your device and proceed with the next instructions.
- Press and hold the Volume Up + Power button to boot into the fastboot mode.
or
Execute the following command and boot into bootloader/fastboot mode of Redmi Note 8 pro. (Note: A popup for permission to “Allow USB debugging” will come, tap OK.)adb reboot bootloader
- Execute the following command to flash the TWRP recovery on Redmi Note 8. Rename the image file to twrp.img and type
fastboot flash recovery twrp.img - If you want to root, then skip Step 9 and move to the Root section below.
- Now, reboot your smartphone and enjoy the custom TWRP recovery on Redmi 8.
fastboot reboot
- That’s it! Now, you can enjoy the custom recovery.
The interested users can now root the device or can install custom MODs using the GUI interface of TWRP. Follow the steps below to get root access on Redmi 8.
Steps to Root Redmi 8
Rooting is the ultimate goal of installing a custom recovery on any device. Follow the instructions below to attain root privileges on Redmi 8.
- Download the latest Magisk zip and move it to the internal storage on the device.
- Boot into TWRP recovery by pressing Volume Down + Power button or execute the following command:
adb reboot recovery
- Backup important data before proceeding further.
- Select “Install” from the TWRP and browse the Magisk.zip in internal storage.
- Confirm the flash by swiping action.
- Reboot System from TWRP recovery.
- Upon successfully boot, find the Magisk application or install the Magisk Application from third-party sources.
- Enjoy!!
You have successfully installed the TWRP and rooted Redmi 8 using the above guide. If you have any issues while following the above steps, then comment below for the solution.
Read More: Redmi 8 Phantom Red edition is now available for purchase in China.


