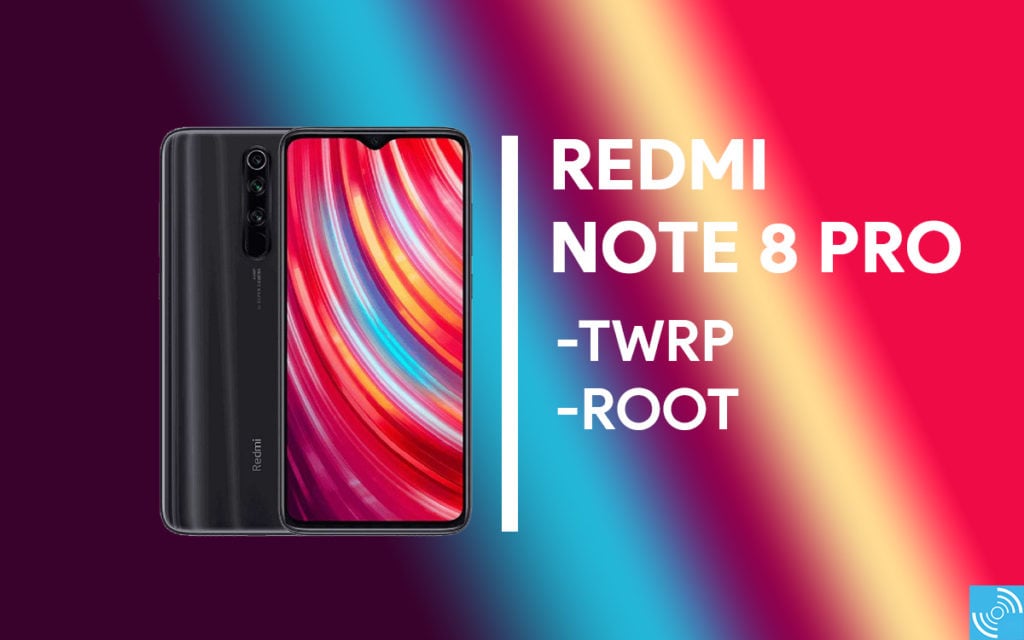
It was a remarkable year for Xiaomi and Redmi, as both the companies split up to bring more user-friendly and more relatable devices as per the user demands. Since Xiaomi and Redmi parted ways, both the companies have stormed the market with their respective devices and gained massive sales. It has increased the competition among the companies to offer better hardware specifications at affordable prices. Redmi Note 8 Pro is such a device that is available at competitive prices while offering high-end specifications. We have prepared a guide to install TWRP and root Redmi Note 8 Pro.

Must See: Download Samsung Galaxy S20 Wallpapers in HD Quality
There are various advantages of rooting the Redmi Note 8 Pro. It will allow the advanced users to flash the mods and tweak the smartphones as per desire. The users can change themes, boot animations, lock screens, fonts, and a lot of other things after rooting the device. It even opens doors for a single click backup and restoration.
What is TWRP Custom Recovery?
TWRP stands for Team Win Recovery Project is an open-source recovery project for Android-based smartphones. It allows users to perform various functions from installing the custom mods, firmware to taking full system backups. TWRP has primarily used custom recovery on Android devices as it has extensive support. There are several benefits of using TWRP Custom Recovery.
Merits
- GUI and touch-based interface
- Easily flash zips of MODs, Frameworks, and ROMs
- Brings the ability to flash custom Kernels.
- Allows to make full system Backups
- It helps to remove bloatware from the system.
- Facilitate in rooting the device easily.
- Ability to Wipe, Cache and Data.
Demerits
- Your Warrant voids
- It could brick your device permanently
Xiaomi Redmi Note 8 Pro Specifications
Xiaomi Redmi Note 8 Pro was launched in September 2019 with a lot of goodies. The smartphone comprises a 6.53-inch IPS LCD display with a resolution of 1080 x 2340 pixels and a 19.5:9 aspect ratio. The display sports a Corning Gorilla Glass 5 and supports 500 nits max brightness with a pixel density of 395 PPI.
It is powered with a MediaTek Helio G90T chipset packing an octa-core processor and Mali-G76 MC4 GPU. The smartphone is available in several different storage options like 64 GB + 6 GB, 128 GB + 6 GB, 128 GB + 8 GB and 256 GB + 8 GB. The user can use a microSDXC card along with the SIM slot to expand the storage.
In optics, Xiaomi Redmi Note 8 Pro consists of a quad camera setup featuring a 64-megapixel primary lens, an 8-megapixel ultrawide sensor, a 2-megapixel macro lens, and a 2-megapixel depth sensor. There’s a 20-megapixel front camera for beautiful selfies and video calling.
There’s support for WiFi, Bluetooth 5.0, NFC, GPS, Infrared, Radio and USB 2.0. Moreover, the smartphone supports a Fingerprint sensor, accelerometer, gyro, proximity, and compass. The smartphone comes with a 4500 mAh non-removable battery with 18W fast charging. It comes in different color variants including, Black, Red, Blue, White, Deep Sea Blue, Midnight Blue, Twilight Orange, and Electric Blue.
Install TWRP on Redmi Note 8 Pro
Follow the instructions carefully to get TWRP custom recovery on Redmi Note 8 Pro.
Note: It is recommended to proceed only if you’re an advanced user. The device hard bricks easily, and you may have to spend a few bucks to get it repaired from the service center.
GizmoChina.com is not responsible for any damage to data or devices. Rooting or installing TWRP may void your warranty and you won’t be able to get direct OTA updates.
Prerequisites
- Backup all the important data using our guide.
- Charge your device up to at least 50 %.
- Download and Install ADB and Fastboot drivers on PC/MAC and extract it in a folder.
- Download TWRP from here and keep it into the extracted ADB and Fastboot Drivers folder. (Note: rename the recovery to twrp.img.)
- Unlocked Bootloader is necessary for the TWRP installation.
- Enable Developers Option by heading to the Settings > About Phone > Tap MIUI Version 7 times.
- Enable USB Debugging Mode by heading to the Settings > Additional Settings > toggle USB Debugging option.
Steps to install TWRP on Redmi Note 8 Pro
- Before proceeding, make sure USB Debugging and Bootloader is unlocked.
- Extract ADB and Fastboot tools in a folder.
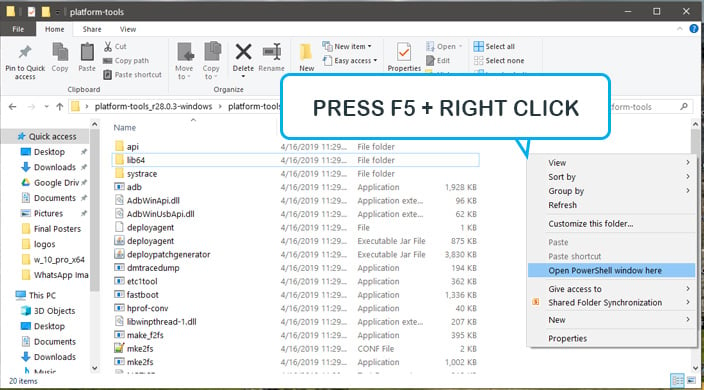
- Now, press Shift + Right Mouse Click in the same folder to open CMD or Powershell window.

- Connect your device with PC via a USB cable.
- Now, turn off your device and execute the following command to reboot into the bootloader mode. (Note: Press OK if a popup to “Allow USB debugging” comes.)
adb reboot bootloader
- Now to flash the TWRP, make sure to execute the following command after renaming the recovery file to twrp.img.
fastboot flash recovery twrp.img
- Now, reboot your device upon typing the below command. (Note: Sometimes, the stock ROM replaces the TWRP. IN order to prevent that, hold the Volume UP + Power Key after typing the below command.)
fastboot reboot
- You can normally reboot the device from TWRP and enjoy the TWRP recovery.
You have successfully installed the TWRP on Redmi Note 8 Pro. If you want to root, then follow the process below.
Root Xiaomi Redmi Note 8 Pro
Rooting is the initial step before installing any other custom MOD on the device. We have listed below the steps and the requirements that you need to download.
Prerequisites:
Magisk Manager Zip File to root and save it on your smartphone.
Download Disable_Dm-Verity_ForceEncrypt.zip and Save it in your mobile.
Steps to install Magisk on Redmi Note 8 Pro
- Turn off your device and boot into recovery by pressing the Volume Up + Power Key button for 3-5 seconds.
- Select Wipe > Advance Wipe > Select Cache Data.
- Now, Return to TWRP Home and select Install.
- Browse for Disable DM-Verity ForceEncrypt.zip
- Upon installation, now again select Install from TWRP Home.
- Browse Magisk.zip and install it.
- Now, Reboot your device and enjoy the root access via Magisk manager.
After following our guide, you have successfully installed the Magisk and gained root access on Redmi Note 8 Pro. If you have any problem or issue while following the steps above, then let us know via the comments below.


