SUMMARY:
We all have heard and seen 360° photos and videos on the internet, but how many of you have actually used a 360° camera before? I believe the concept of 360° content production is still pretty new for a lot of readers out here and the Xiaomi Mi VR camera is here to help you start your journey. It’s far from being the best 360° camera in the market, but for its relatively affordable price tag of under $250, the Mi VR 3.5K Panorama camera manages to produce some good looking 360° photos and videos.
Before I carry on with the review, I would like to thank Gearbest for sending in this camera for review. The Mijia 3.5K Panorama camera is currently up for sale at just $248.99 on the website.
PROS:
-
- Simple & Elegant Design Built To Last
-
- Compact
-
- IP67 Certified
-
- Smart Notification Indicators
CONS:
-
- Gets Hot Quickly
-
- App Isn’t Perfect
-
- No Option To Upload to YouTube Directly
Design & Built
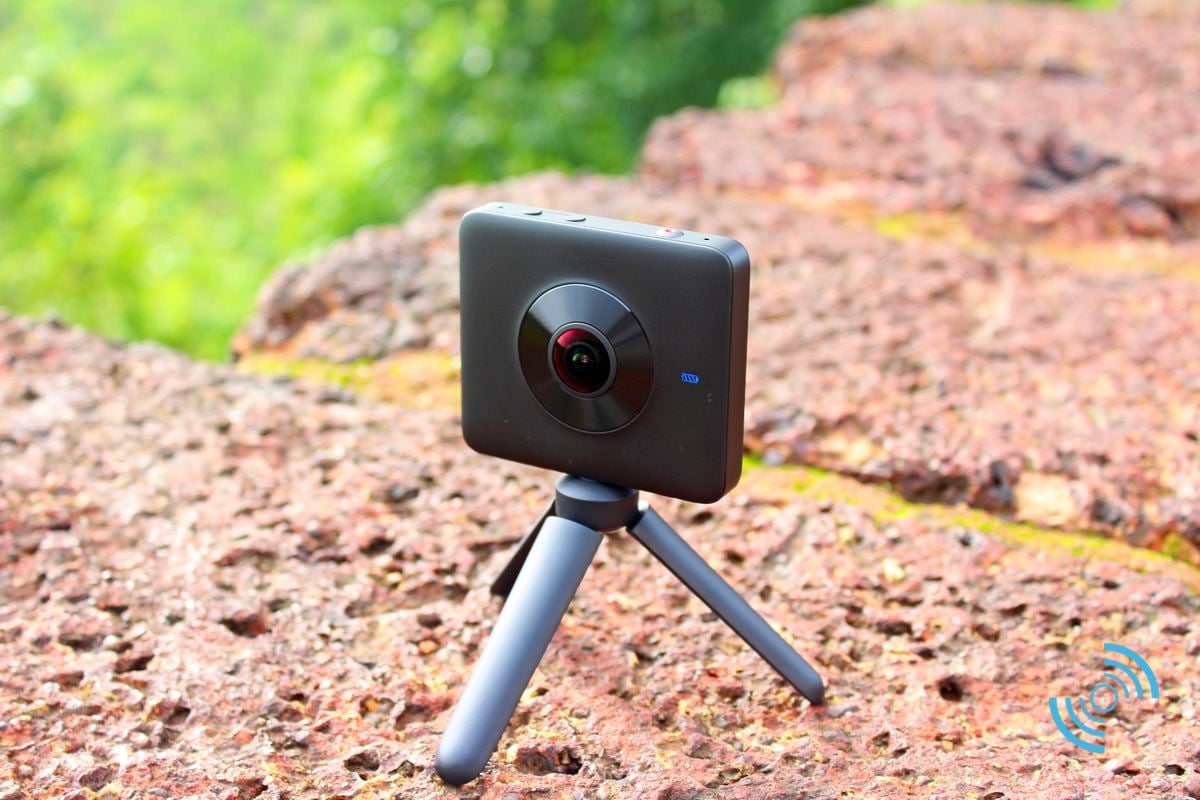
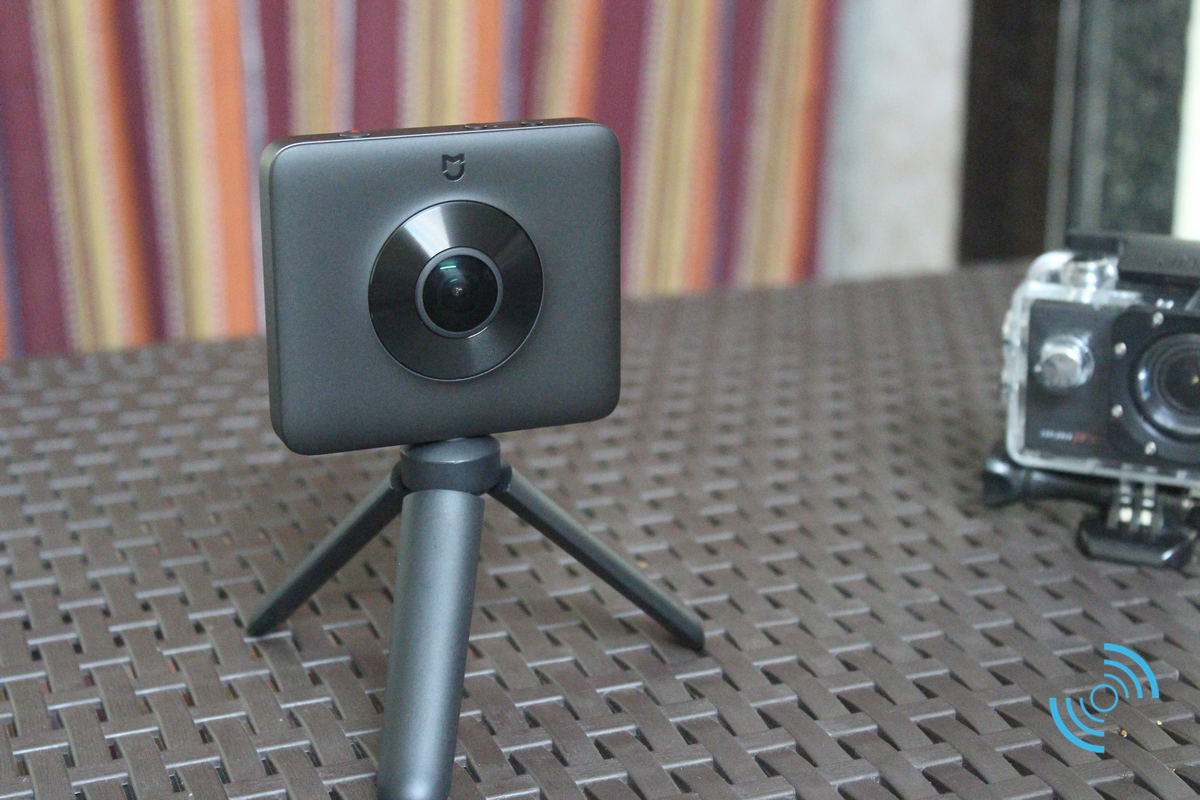
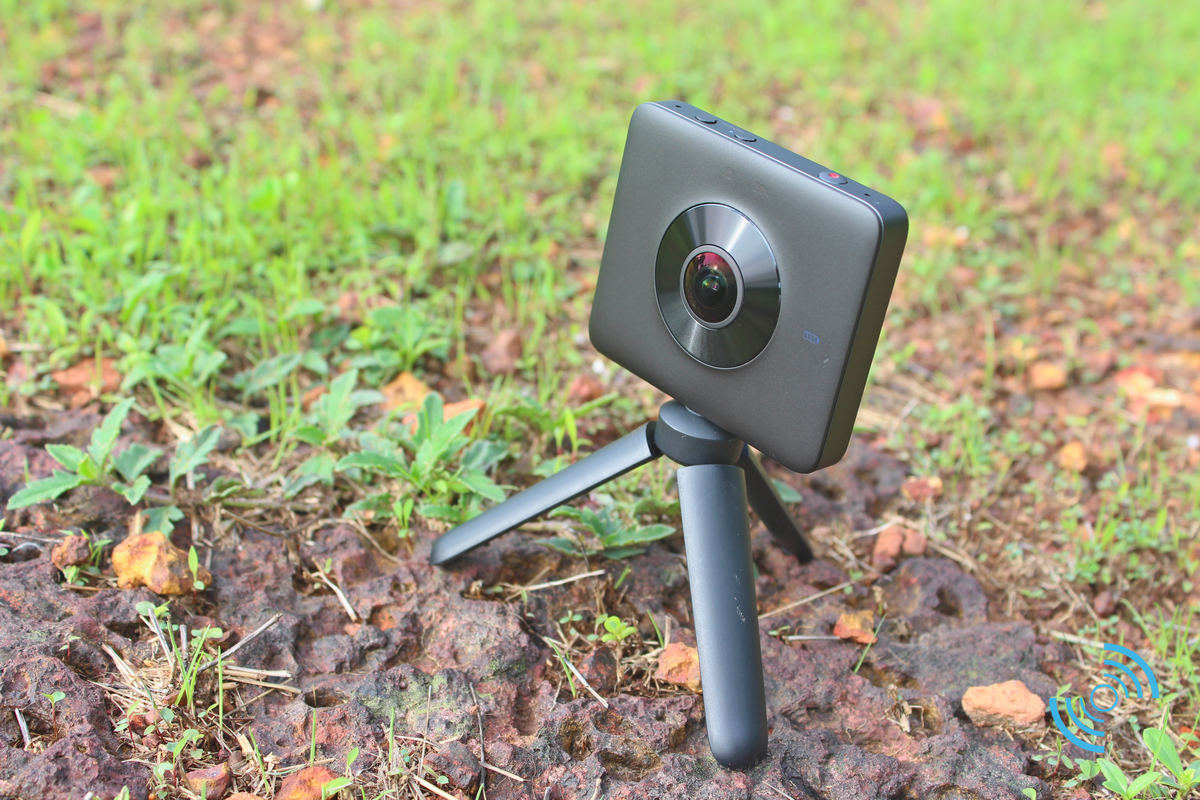
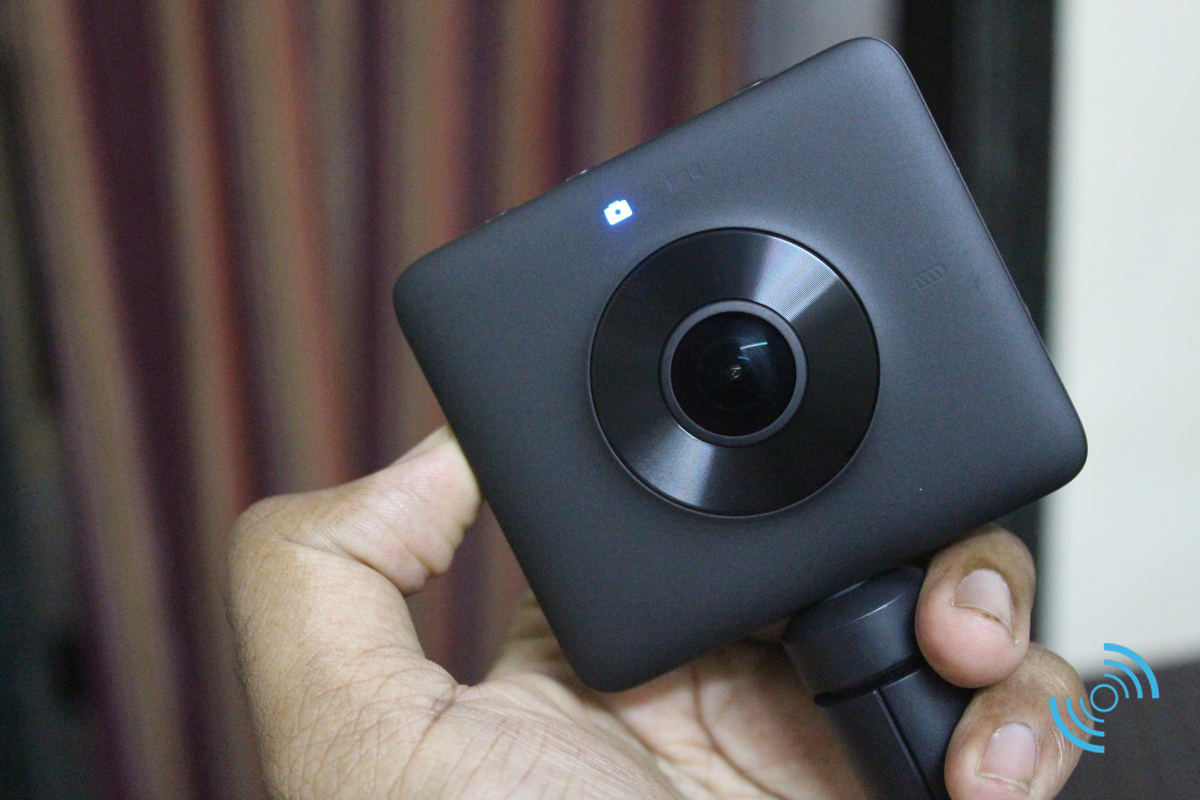
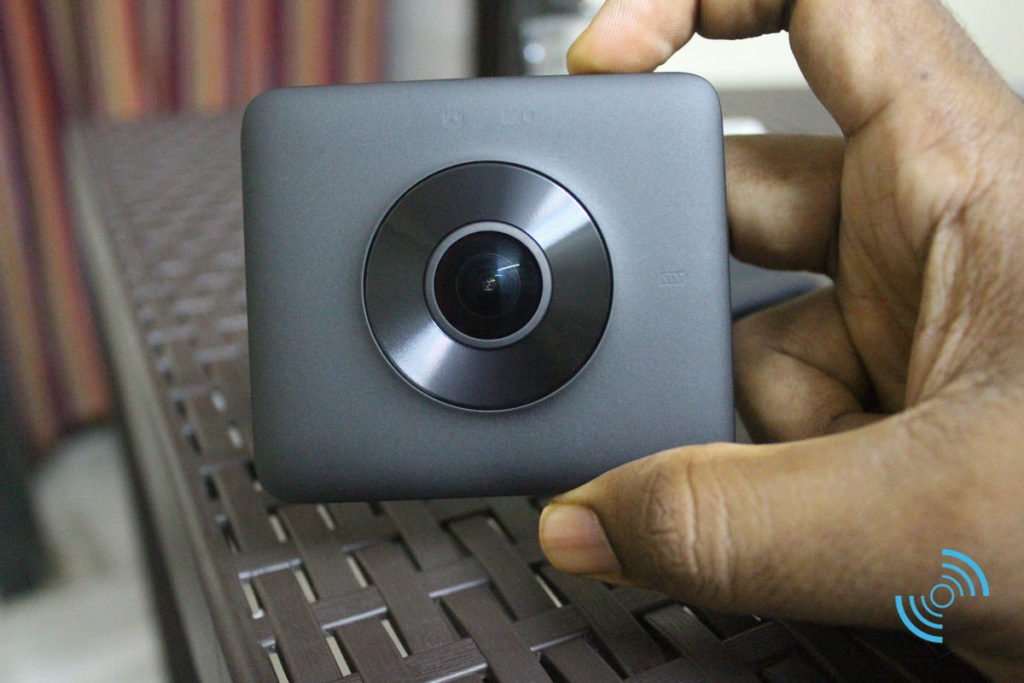
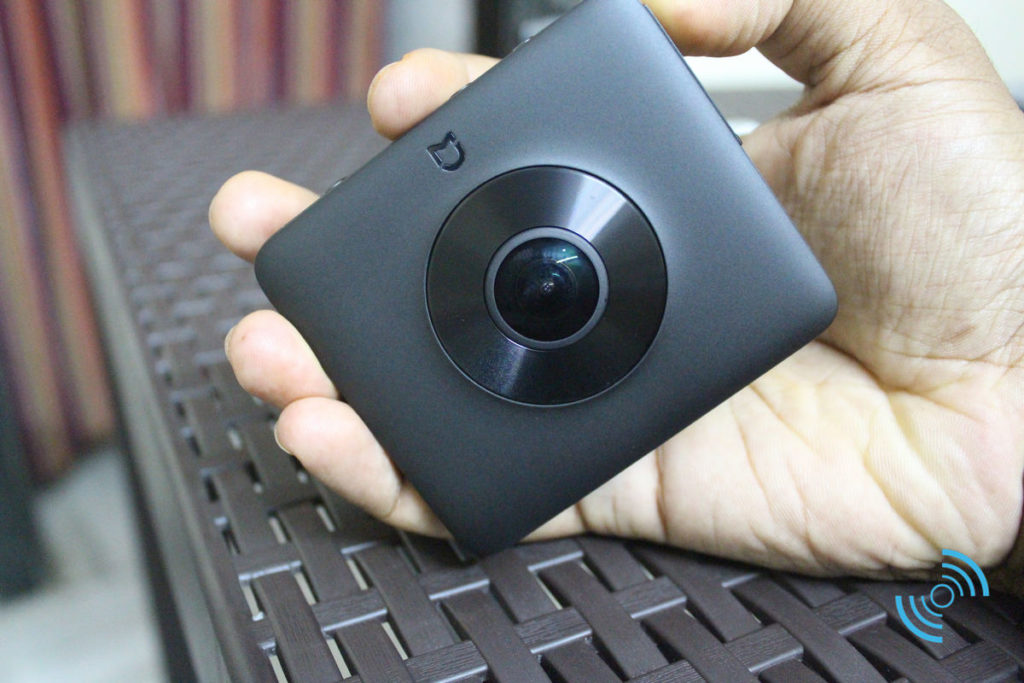
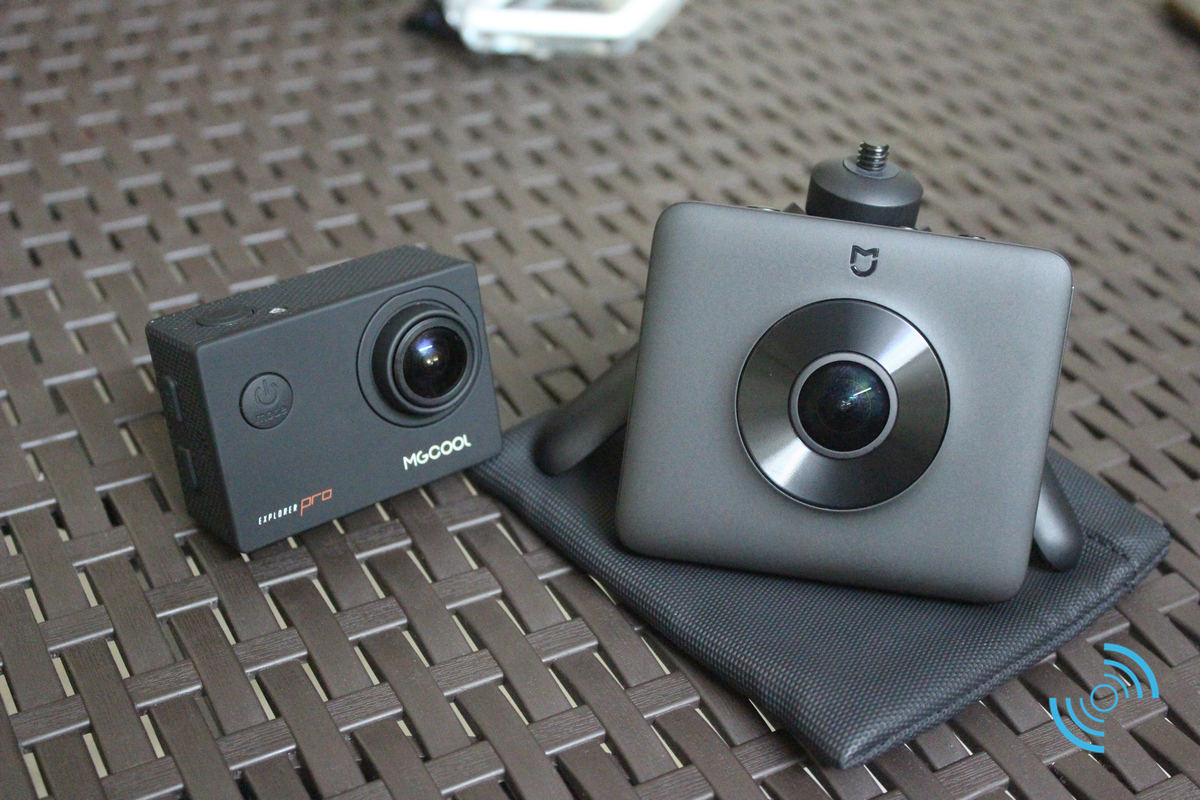
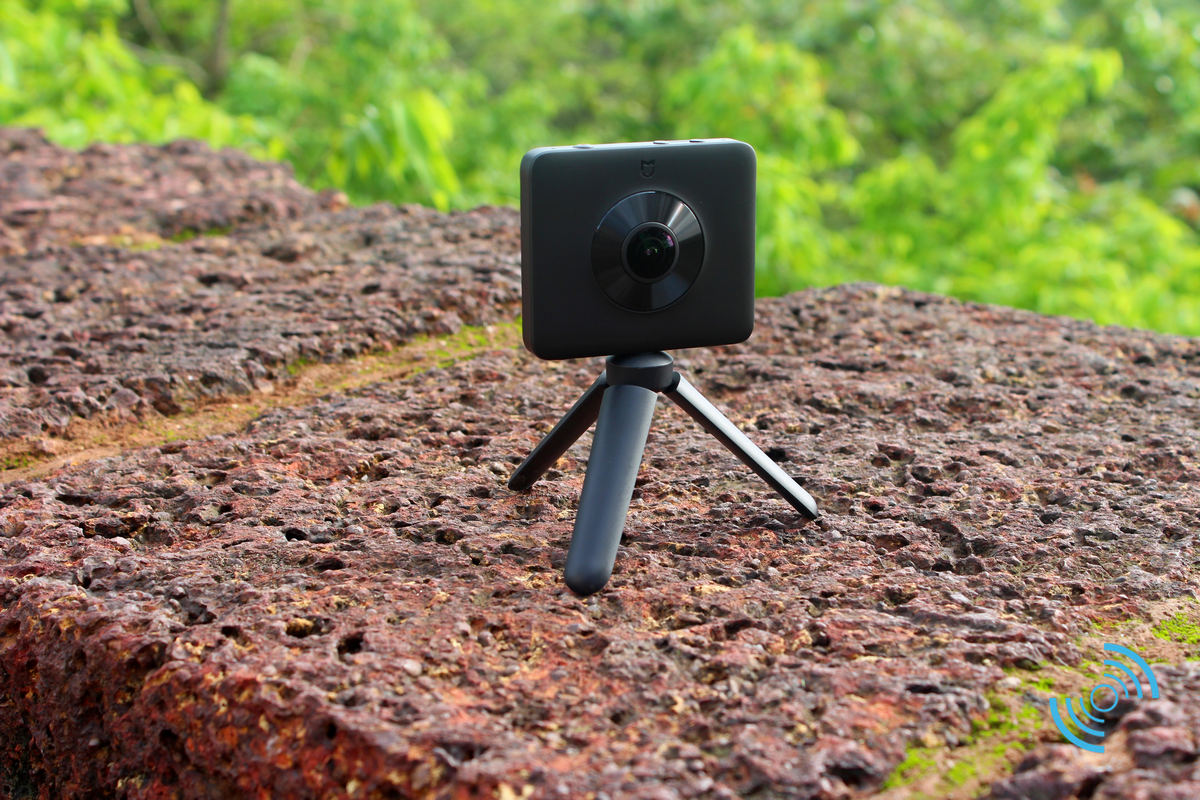
The Xiaomi Mi VR 360° camera comes in an elegant black shade. You get a matte like texture on the front as well as the back, while the sides get a smoother finish. I love the overall compact design of the device and the fact that it’s hard to get scratches on the body makes me love it even more! Often while taking 360° pictures or videos, you have to keep the camera in rocky terrains or sandy beaches and so far, my Mi VR camera has managed to survive them all without any significant scratches. Of course, I have not yet dropped it to see if it survives, but I don’t have the courage to see what’ll happen in such a situation. But don’t be shy to expose your Mi VR camera in different terrains to get the perfect 360° shots.
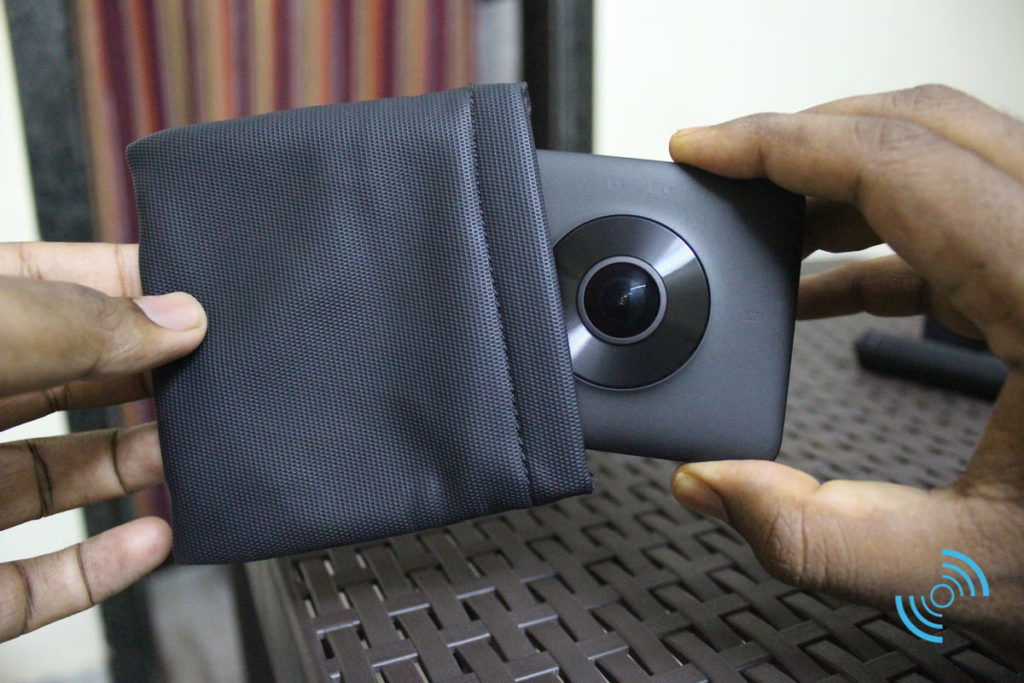
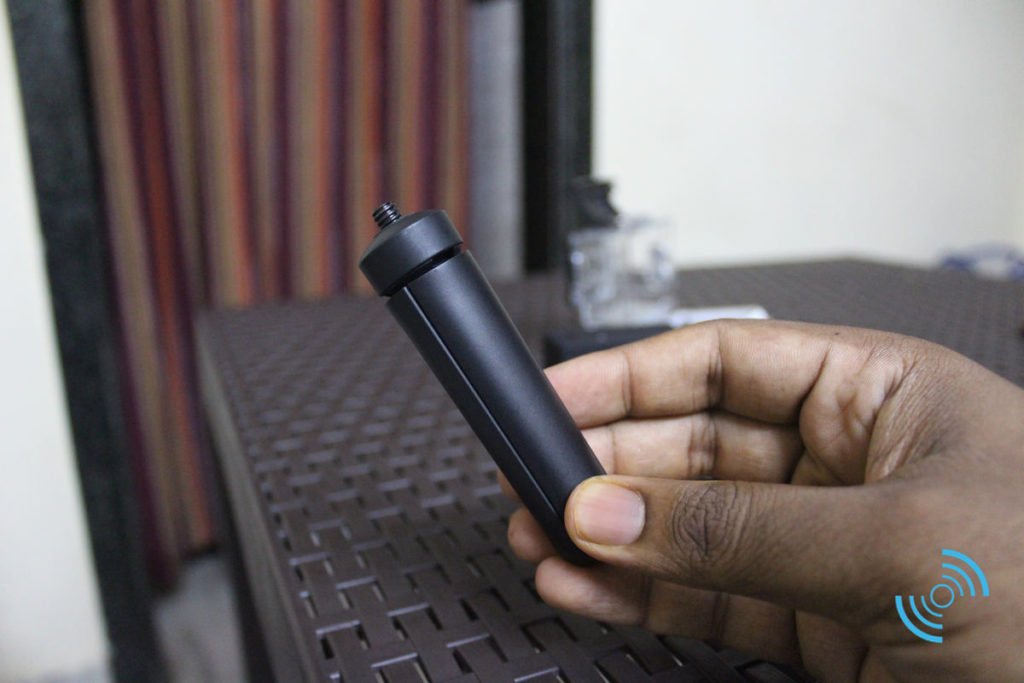
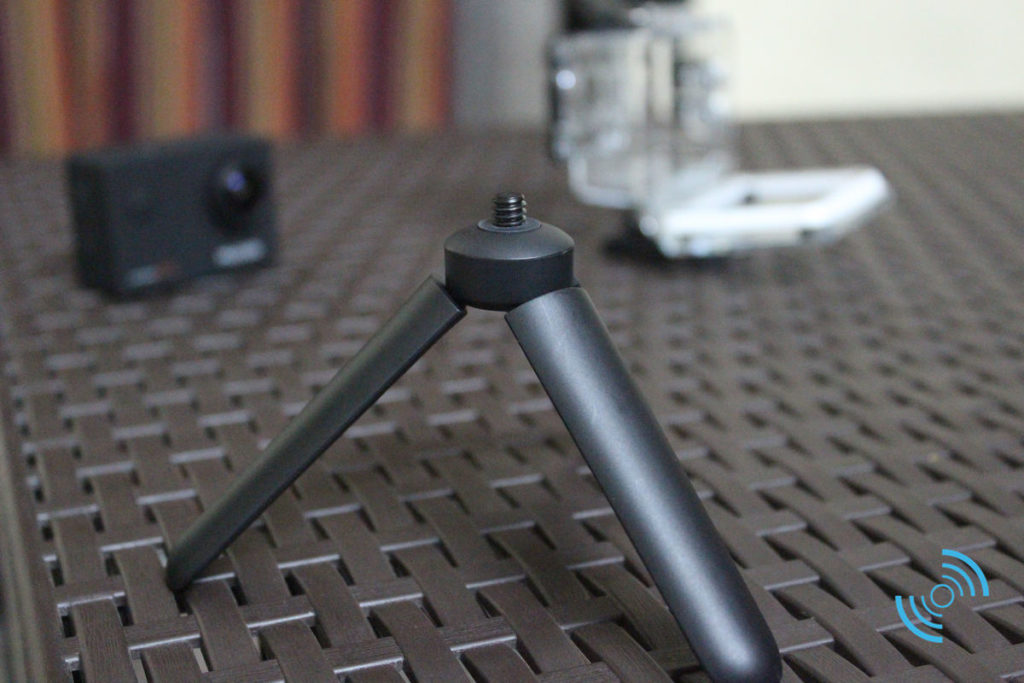
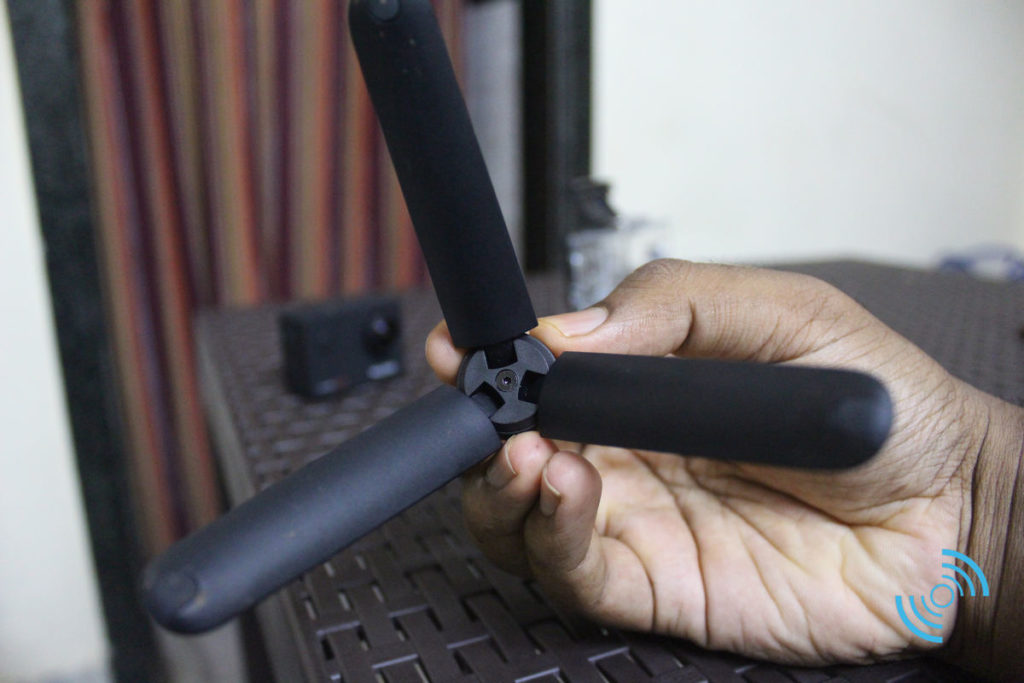
The mini tripod comes with the camera itself and does a fine job of keeping the camera study in different terrains. Even when it was raining and things were a bit slippery, the tripod managed to keep the camera intact. This along with the protective sleeve (which is also included in the box) makes up for the perfect pair of accessories for the camera.
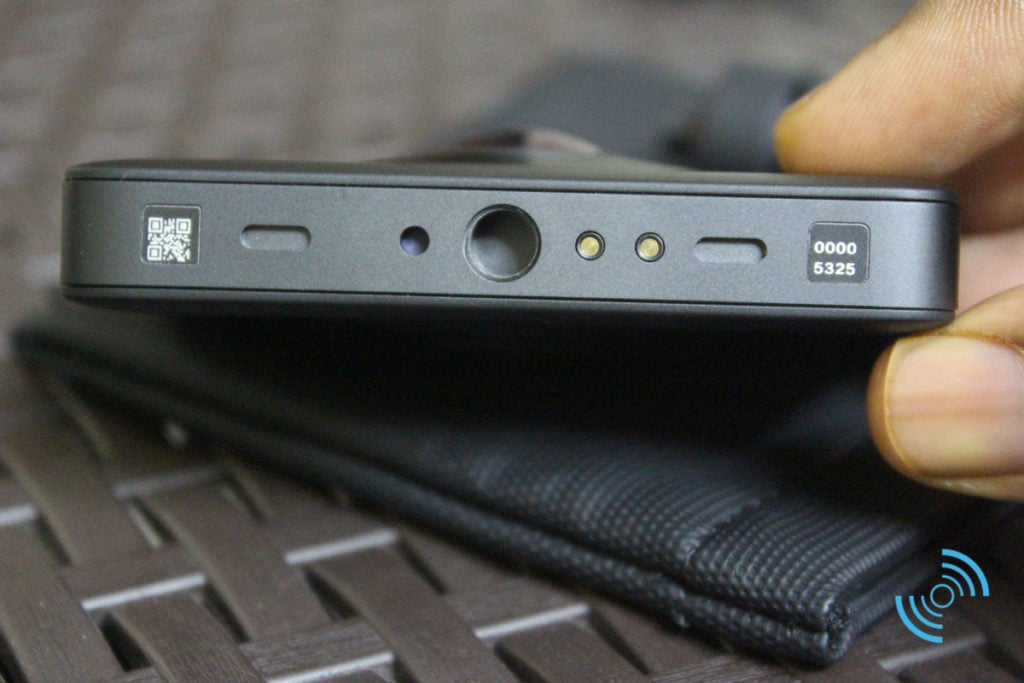
Note that the camera uses a standard 1/4 inch mount, so you can use any tripod or accessory with this connector.
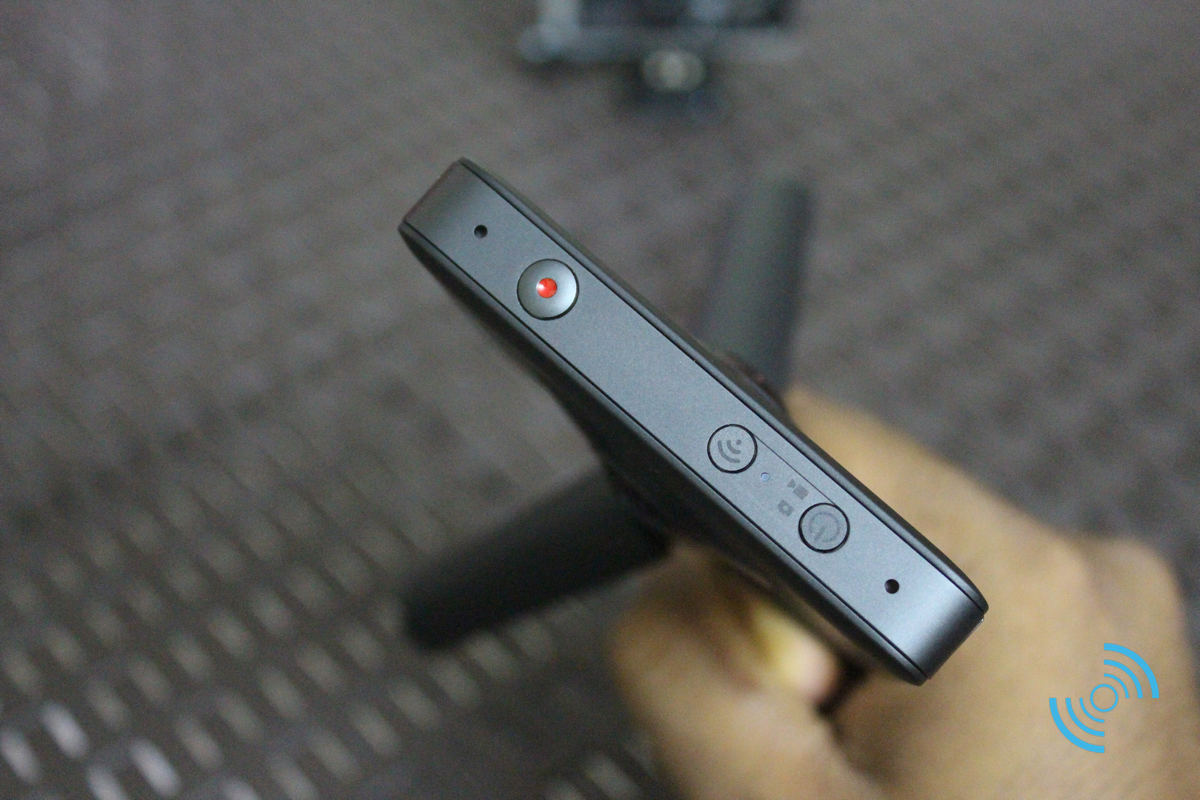
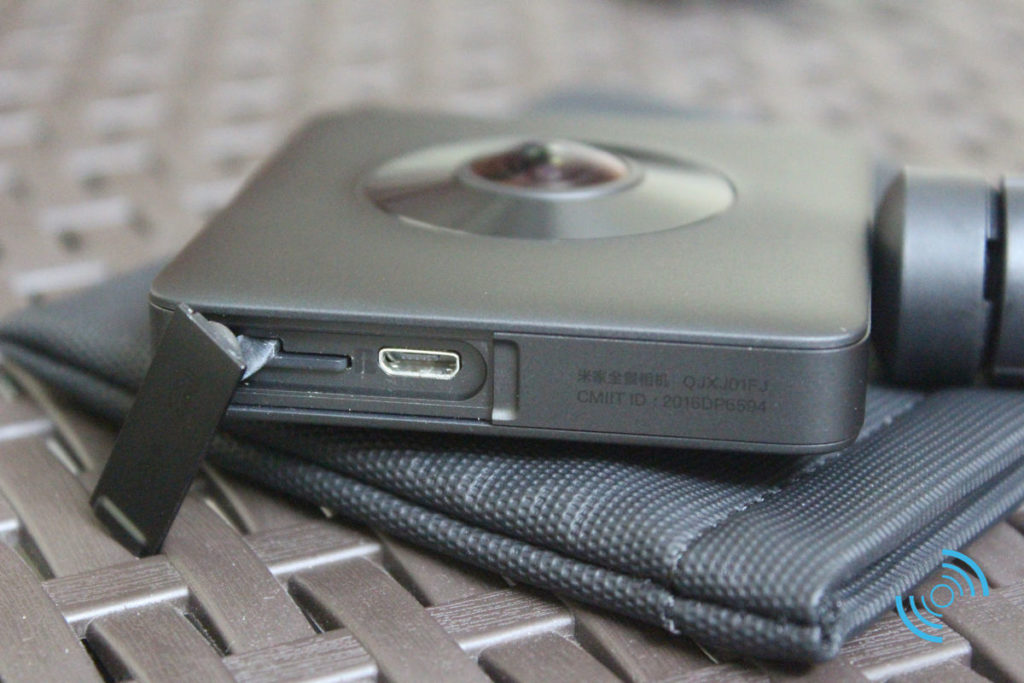
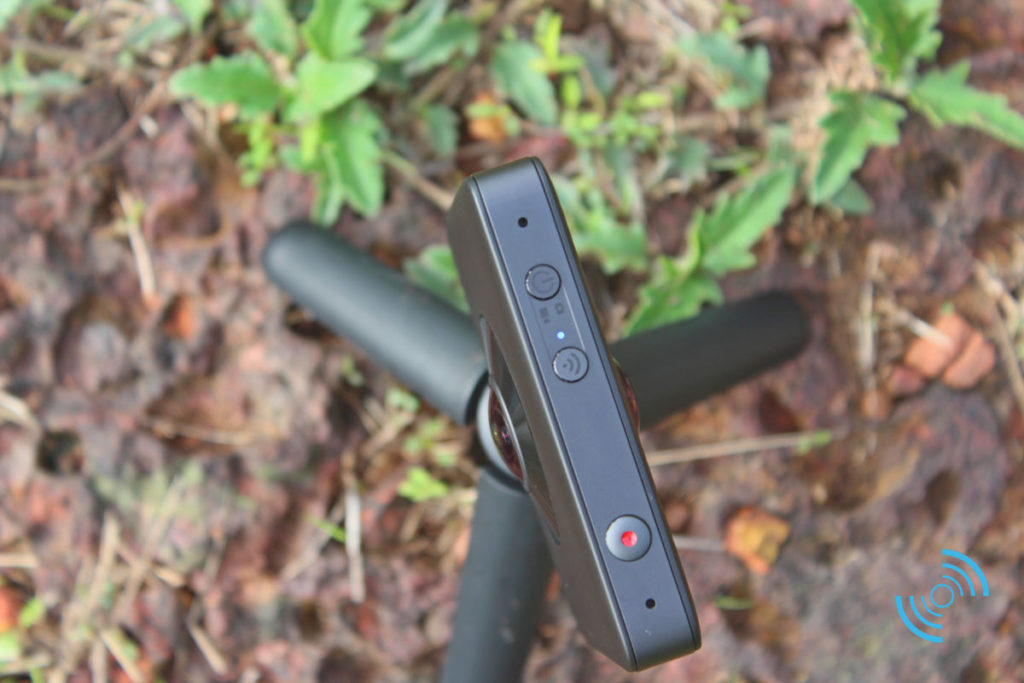
Xiaomi has kept the design simple, with three buttons on top — a Record button (in red), a Wi-Fi button and a Power / Mode button. The buttons are tactile and give good feedback when clicked. On one of the sides, you have the MicroUSB port used for charging as well as a MicroSD card slot. Note that the camera is IP67 certified, which means its dust and waterproof. Hence, the slots are covered.
There are three notification lights, all located on one side of the device (on the opposite side of the Mijia logo). The battery indicator glows blue and red (when the camera has low charge). Then there’s a camera as well as a video notification indicator in blue. The video indicator starts blinking in red when you are recording.
Overall, I’m happy with the camera’s elegant design and sturdy built quality.
Xiaomi Mi VR 3.5K 360° Camera Specs
The Mi VR camera is made up of two 190° Fish Eye lens with 2 x IMX206 sensors. With this configuration, along with the Amabrella A12 chipset inside, the Mi VR camera manages to capture up to a max resolution of 3.5K at 30 fps. You can even capture 60 fps videos in lower resolution. You can capture in 3.5K for about 75 minutes in a single charge, but make sure to keep a large memory card handy. Speaking of memory cards, the camera takes MicroSD card up to 128GB. Do note that it is recommended to use a Class 10 or up memory card inside the device for the best performance.
There are three shooting modes (customizable in the app): Flat / Sphere / Planet. The cam supports time lapse and comes with 6-axis stabilization as well, which keeps the videos relatively stable.
Battery Life
The 1600mAh battery on the camera is good for capturing photos for around a day on a single charge or videos for more than an hour. I personally used the camera for 30-40 360° pictures and a few videos a couple of times and I still had like 40-50% charge remaining on the device, which I feel is pretty good. The standby time is also good, as I would still see nearly 30-35% charge after switching the camera on the next day. Charging the camera takes around 2 hours.
Mi VR 360° Panorama Camera: How To Use
Since 360° cameras are a relatively new concept for many readers out here, I would give you a brief idea as to how to use the Mi VR camera.
Connecting the Camera to the App
-
- Charge the camera first for an hour until you see the fully charged blue battery icon on the camera.
-
- Hit the power button and turn on the camera.
-
- Once the camera is on, you can either start recording or you can connect your smartphone.
-
- If you want to connect your smartphone, make sure to download the Mi Sphere app first from this link.
-
- To connect to your phone, just press the Wi-Fi button on the camera and connect your smartphone’s Wi-Fi to the camera’s network. It should be something like MJXJ-XXXXXX. Note that the default password for the camera’s Wi-Fi network is 12345678.
-
- Open the Mi Sphere App (downloaded from the link above) and it has all the instructions that you need to connect to the camera.
Shooting Pictures / Videos Using the Camera (Without connecting to the App)
-
- Once the camera is switched on, you’ll see the current shooting mode via the indicator icon. It can be either the camera mode or the video mode.
-
- You can switch between the two modes via the power button.
-
- You can capture pictures or videos by clicking the record button once. You’ll hear a light beep which indicates whether the pictures was captured or the video shooting started.
Shooting Pictures / Videos With the Camera App
-
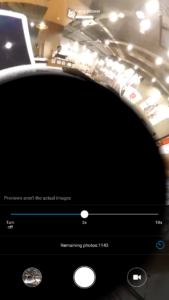
- Once your camera is connected to the phone, turn on the app and you’ll see a yellow camera icon. Click on it to take you to the camera interface. You’ll be greeted with a large preview screen as well as a few additional options such as settings (on the top right corner), gallery (bottom left corner), capture button (bottom center) and camera / video toggle mode (bottom right). There’s a timer setting as well (the one which looks like a clock icon).
-
- Click on the capture button to take pictures or videos.
-
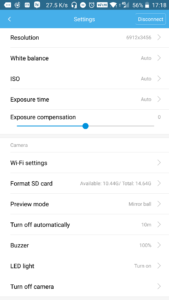
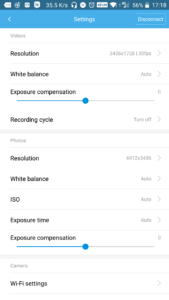
- You can fiddle with a few settings as well like white balance, exposure, ISO, and resolution.
-
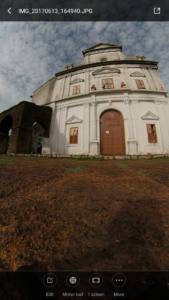
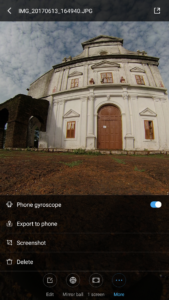
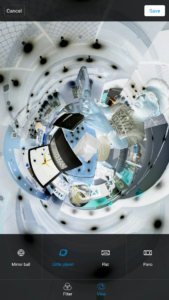
- Once the photo / video is captured, you can select different viewing modes as well such as Mirror Ball, Flat, Little Planet, and Pano. Further, there’s an option for single screen view as well as 2 screen view (for VR headsets).
-
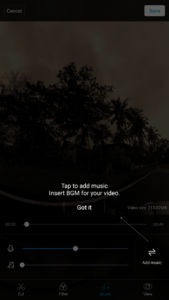
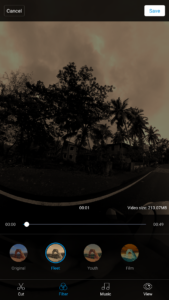
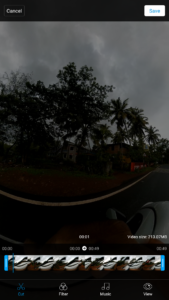
- Further, there are four filters that you can apply to the photos — original / fleet / youth / film. Not the best filter options, but at least you can do this directly in the app itself.
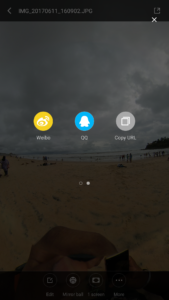
Note that there’s a share button integrated right inside the app (you have to go to the app’s gallery and click on the image to get this option on the top right corner). Available sharing options include Facebook, Messenger, Twitter, WeChat, Weibo etc. No option to share videos directly to YouTube (which is disappointing) but there’s a way you can share it to youtube.
Download the video to the phone first and then using YouTube Metadata injector or any other video editor, insert 360 metadata (helps them identify this as a 360 video). Once done, you can upload it to YouTube or any other 360 supported platform. You can actually try an app called VRFix for Android that reinjects the 360 metadata to videos.
I know this turned out to be a very long review because of these instructions, but I hope it makes your lives easier with the Mi VR camera.
Xiaomi Mi VR 3.5K Camera & Video Quality
The Mi 3.5K VR camera managed to capture 360° photos and videos with sufficient levels of detail. Well, you might find them a bit grainy for your taste but when compared to other VR cameras in the same range, Xiaomi’s 360° device does quite well.
Actually, the bar itself is quite low for 360° photos, so the content captured by this camera comes out quite better than other cheap alternatives. The image size ranges from 6-14Mb while a 30-second video would be like 100Mb in size. The dynamic range is pretty good and the colors are quite accurate as well. 360° photo stitching is also good but it’s not completely seamless. Do note that Xiaomi’s app does a fine job of getting the two pictures together for a complete 360° picture.
As for video quality, there are two resolutions available and thanks to the 6-axis stabilization, your videos come out less shaky, even when you are walking and recording.
Overall, for under $250, the Xiaomi Mi VR 3.5K camera does pretty well in terms of quality as compared to its competitors.
Make sure to check out the camera and video samples from this drive folder.
Or you can see a couple of live uploaded photos down below.
Verdict
It might take some time getting used to the world of 360 photos, but with the Mi VR 3.5K camera around, things are pretty straightforward. We are seeing a flood of 360 content these days and cameras like the Mi VR 3.5K enables regular users to join the 360° club with good hardware for starters. I would definitely recommend it for those who wish to take good quality 360° photos without breaking their wallets.

