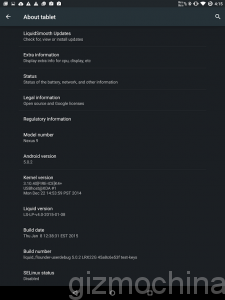
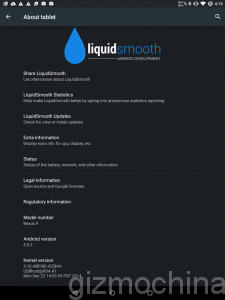
LiquidSmooth is a firmware based on the Android Open Source Project like most of the custom ROM. Today I shall describe the procedure to safely flash LiquidSmooth v4 for HTC Nexus 9 aka flounder. This ROM is based on Android v5.0.2 Lollipop so your Nexus 9 will be running this version of Android with stock like interface but enhanced in customizations.
HTC Nexus 9 is powered by a 2.3GHz Dual Core Denver processor with Nvidia Tegra K1 chipset. It has 2GB of RAM and comes in two variants 16GB (Wi-Fi) and 32GB (LTE). The tablet is on the top of the shelves for Nexus lovers. It has 8.9-inches Quad HD display with 1536 x 2048 pixels resolution which is protected by Corning Gorilla Glass 3.
Also Read – HTC Nexus 9 Full Specification.
Pre-requisites
- You must have a custom recovery installed on your tablet. I would recommend TWRP (Team Win Recovery Project) or CWM (ClockWorkMod) recovery for this procedure.
- Make sure you have battery left on your Nexus 9 before proceeding further
- A USB cable to transfer file in the internal storage of your HTC Nexus 9.
- This tutorial is only for Nexus 9, flashing LiquidSmooth from this article to any other device except Nexus 9 can harm your device. So don’t test is on Nexus 7 or Nexus smartphones.
- Your Nexus 9 must be unlocked.
Disclaimer
If you are proceeding further then I will assume that you have successfully installed a custom recovery on your Nexus 9 tablet. You are also well aware of the consequence of flashing a custom ROM. It will void your tablets warranty so proceed with caution. If any mishap happen you can not/ will not blame GizmoChina or me for any kind of potential damage to you and to your tablet. Procedure is simple so I don’t think you will face any problem while flashing LiquidSmooth v4 for Nexus 9.
Tip
Backup all your essential stuff like photos, videos, documents, and music. Please don’t blame me latest if you lose your Temple Run’s high score.
Install LiquidSmooth v4 for Nexus 9 (LTE/Wi-Fi) aka Flounder
- Download the latest ROM for Wi-Fi or LTE variant, and also download Google Application from the links below.
- LiquidSmooth v4 for Nexus 9, LTE variant Click here. Wi-Fi Variant Click here. Download Lollipop GApps. Click here.
- After Downloading the respective ROM files and Gapps, transfer the file to root directory of your tablet’s internal.
- Now boot into recovery mode. To boot into recovery mode first of all turn off the device. Then press and hold Volume Down and Power key simultaneously and release both the buttons when you see the fast boot menu. Use volume rockers to change the start text to recovery mode. Press power key to enter into recovery mode.
- Backup your current ROM, if case you dislike interface or encounter bugs.
- After backup, Wipe Cache, Dalvik Cache, User Data and System.
- Then click Install and Browse the ROM file you transferred in the above procedure. Flash it.
- Now flash Google Application for Lollipop.
- Clear Cache and Dalvik Cache (Optional).
- Reboot to System.
Screenshots
Voila you can successfully installed LiquidSmooth v4 on Nexus 9. Now you can enjoy the simplicity of stock Android and customizations of LiquidSmooth.


![10 Best Free Android Games in 2024 Best Free Android Games [2024]](https://www.gizmochina.com/wp-content/uploads/2024/04/Best-Free-Android-Games-2024-218x150.png)


